
Fig propagation from cuttings is an economical way of obtaining new fig trees. As opposed to buying the new plant in the nursery, you can successfully transplant the old one from your or friend’s garden. In this article, I am explaining how to root your fig cuttings in a cheap and straightforward way. Instead of buying the new tree, just propagate your own – includes nearly zero cost.
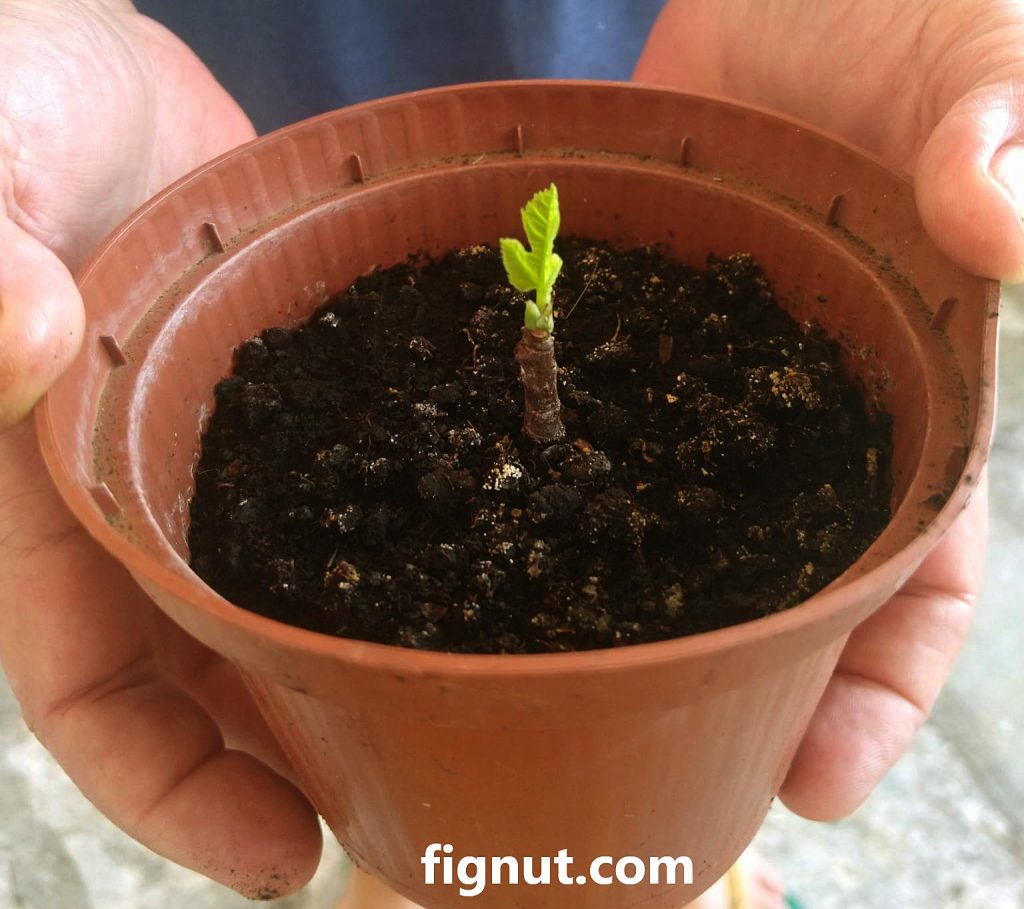
Table of Contents
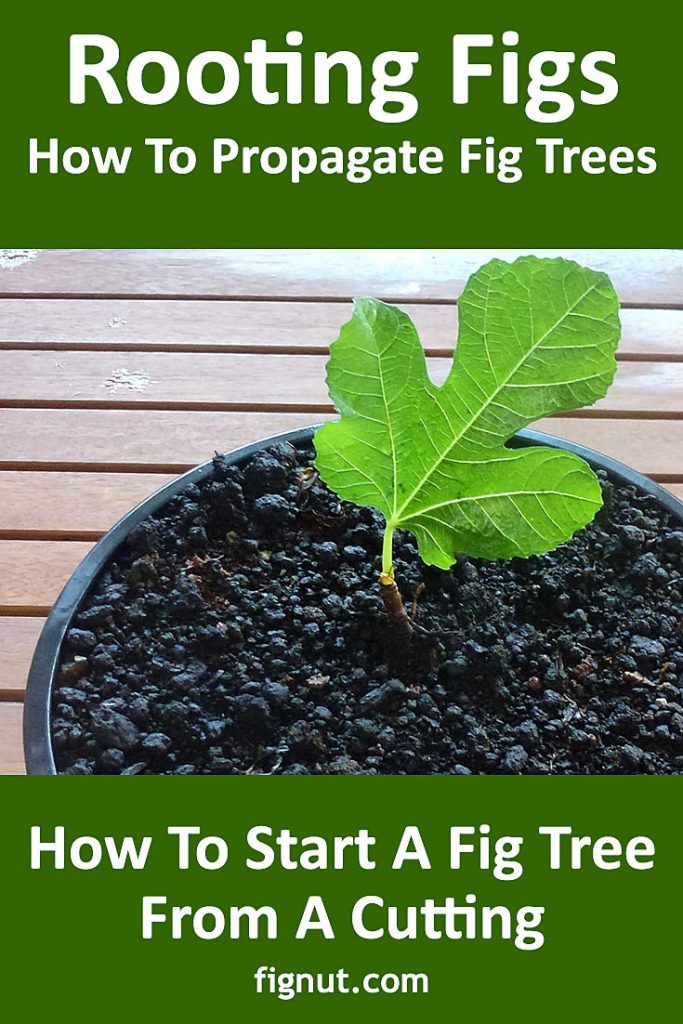
How To Propagate Fig Trees (Rooting Figs)
Can you start a fig tree from a cutting?
Yes, you can. I started with this fig tree two months ago. Although it was at the beginning of a hot and dry summer, I succeeded to propagate one fig tree out of three cuttings. It is 30 % success, and I consider it a good result.
If I started with propagation in the dormant season (winter) it would be more successful, however, achieving one out of three is also good.
How long does it take for fig cuttings to root?
Depending of season, it takes about 2 to 4 weeks for cuttings to root.
Process for How to Start a Fig Tree
Starting a fig tree from cutting is a fairly simple and straightforward process. Here is how to do it in the step – by – step guide, my simple method:
Step 1: Ideally, choose a dormant season (winter) to propagate the tree. However, if you can’t do it in the dormant season, you can also do it at any other time, with a little bit of lower success.
Step 2: Get several cuttings from your favorite fig tree. Choose branches that are young, about 1/2 to 1 cm thick, and take about 10 to 20 cm cutting. In my case, I took three very young branches, each about 0.5 cm thick and about 10 cm long. On top of each of these branches, there was one green bulb from which the leaf was expected to form.
Step 3: Cut the bottom end of the branch to about 45 degrees and place it in the small, about 10 cm wide pot filled with the compost. For this purpose, any compost would do, you don’t need special compost or soil. Instead of rooting hormone, use some of your own salivae. The depth of the hole should be about 5 cm deep. Water the pot thoroughly.
Step 4: Place the pot in the bright location but not to the direct sun and away from the direct wind. I kept my pots in the corner of the patio which was shaded for the most of the day.
Step 5: Check every day if the soil is dry and water as often as you notice the soil becomes very dry. I sprayed my cutting almost every morning but bear in mind, that was summer and soil was drying very fast.
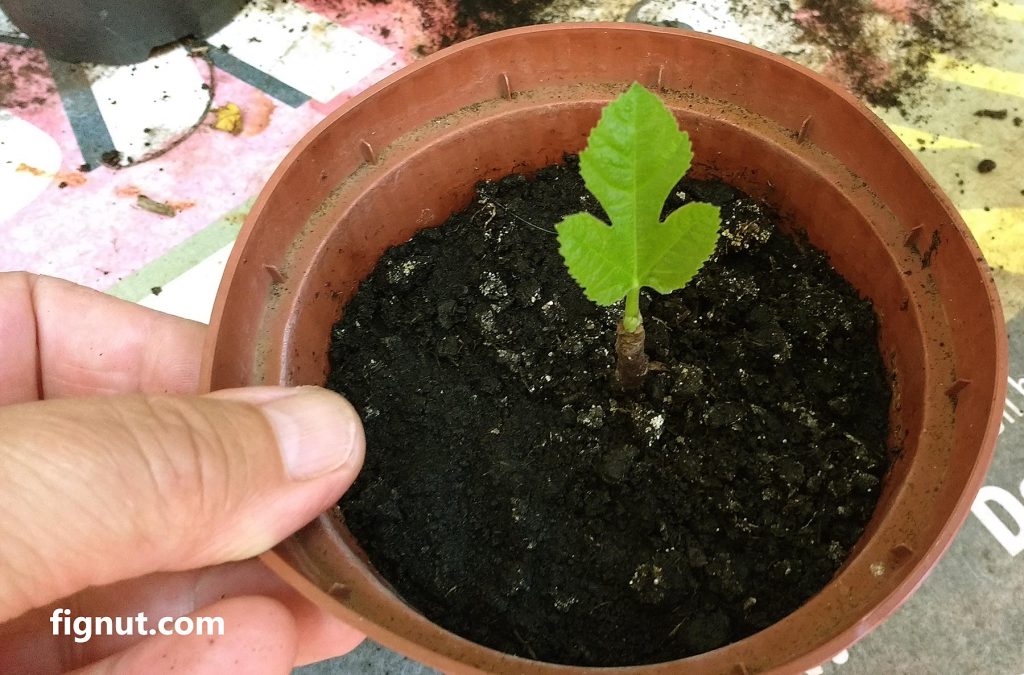
After about 4 weeks, the small leaf started to develop and one morning I noticed a young leaf (above photo)
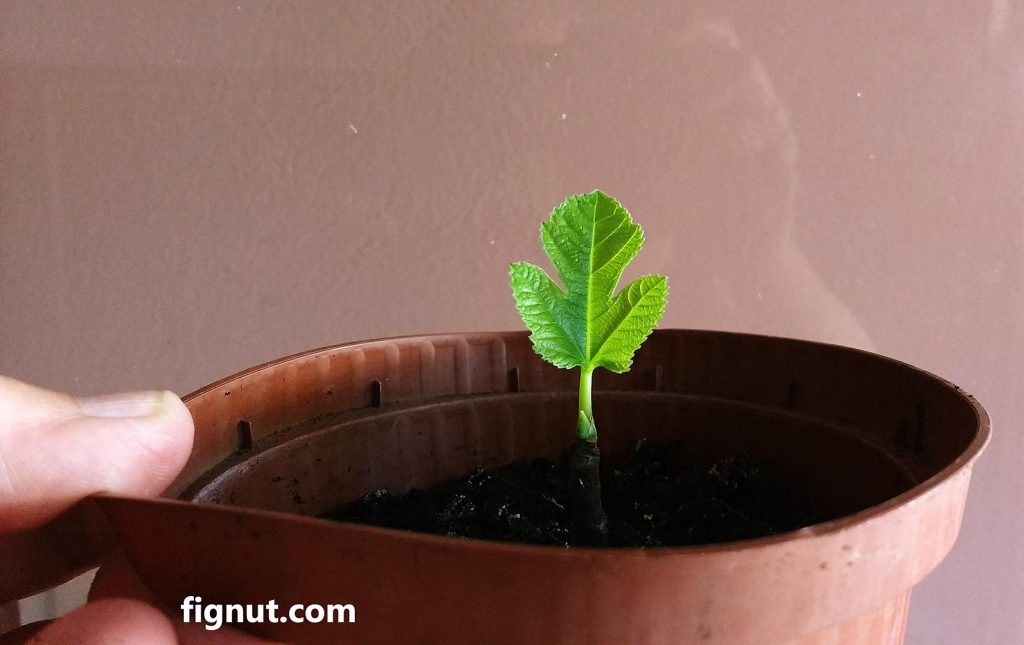
Step 6: As soon as faster growth starts, move your rooted fig cuttings in larger pots.
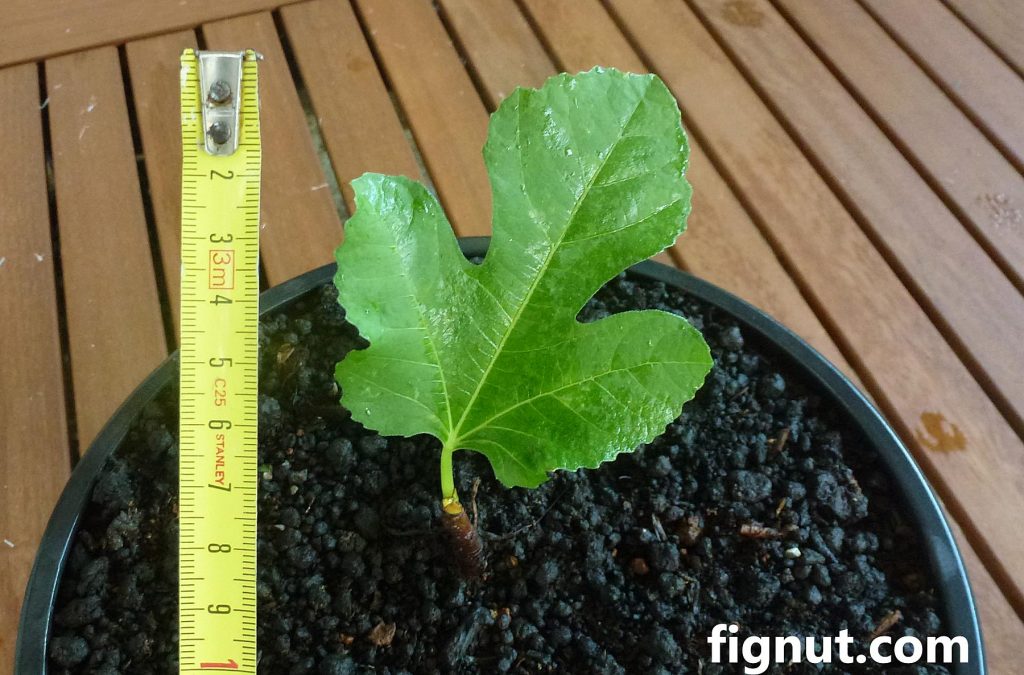
This is currently the tiny fig tree that I moved today in the large pot. The tree grew from 4 to 8 cm high and the leaf developed and grown three times larger (see above photos), so I decided it is a time to move the tree in the larger pot.
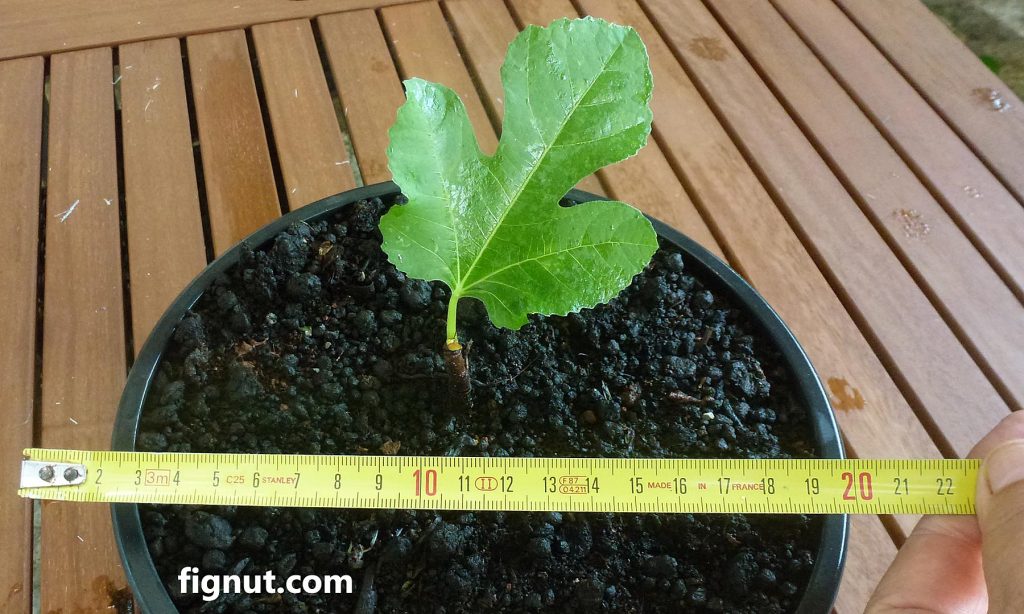
The larger pot is now about 18 cm wide and 25 cm deep. I filled it up with a new compost, added the tree and watered it thoroughly.
Step 7: After the tree becomes stronger, wait for the dormant season (autumn or winter) and transplant the new tree outdoors, in the ground, in the sunny and shield location.
With this particular tree, I will do it in late autumn, as I feel the tree is not ready yet to endure my open field weather. This tree is still a baby, only two months old. While still in the pot, I will keep it on the patio where I can care about it easily.
Note, with this same method, you can also root figs indoors, just make sure you create an environment similar to the outdoors. Keep the fig cuttings warm and in a bright (not direct sun) window, monitor it daily and water it as much as it needs.
Can you root fig tree cuttings in the water?
Yes, you can. It is an easy process with very high success rate. Here are the details:
How to propagate fig cuttings in water in the winter
To root fig tree cuttings in water, ideally, choose a dormant period (winter) to take cuttings off the fig tree. I usually do it at the same time as pruning my trees which is here, in the Mediterranean, in early January.
Process
- Select the best looking and healthy fig tree branches and cut them off the tree with clean, sanitized pruning shears.
- Cut branch into 2-3 pieces each consisting of at least four buds.
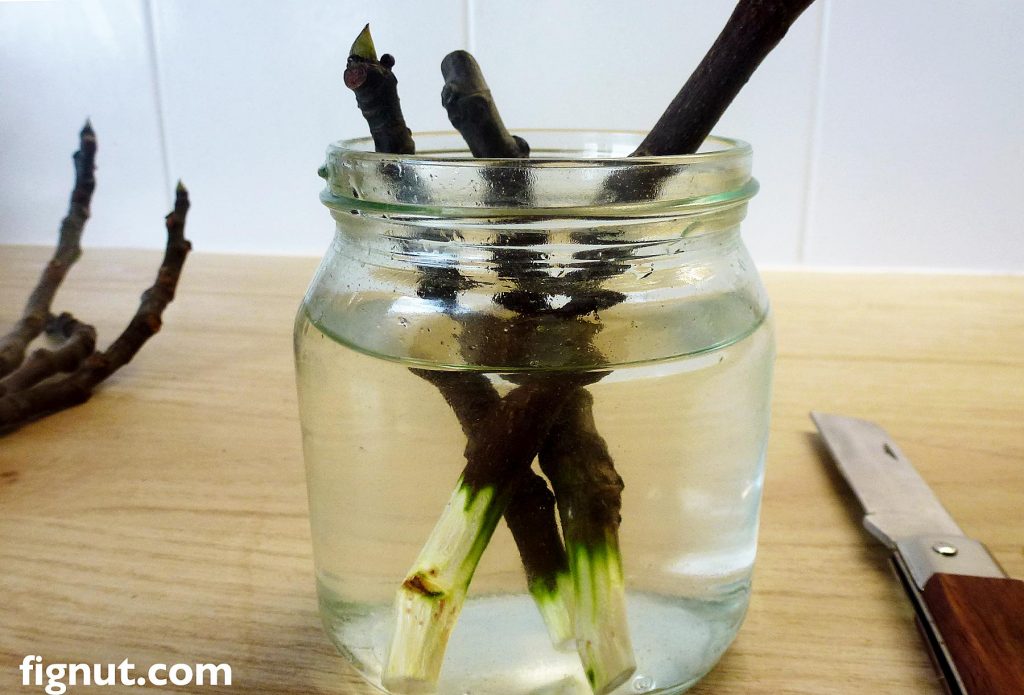
- With a sharp knife remove about 2 cm of skin (bark) from the bottom of the cutting
- Place the cuttings in the mason’s jar 3/4 filled with clean, ideally rainwater (for this purpose, save some rainwater if you can)
- Place jars indoors, near the window, out of direct sunlight
- Keep changing the water twice a week as cuttings need a lot of oxygen to develop roots and leaves
- Optional: make some homemade rooting hormone and apply it twice a week. Make sure you change the water after few hours. See my article on how to do it properly.
- In a few weeks, the tiny roots should emerge – > see below the progress of my cuttings
Video
Here is a video of me preparing cuttings for rooting – have a look:

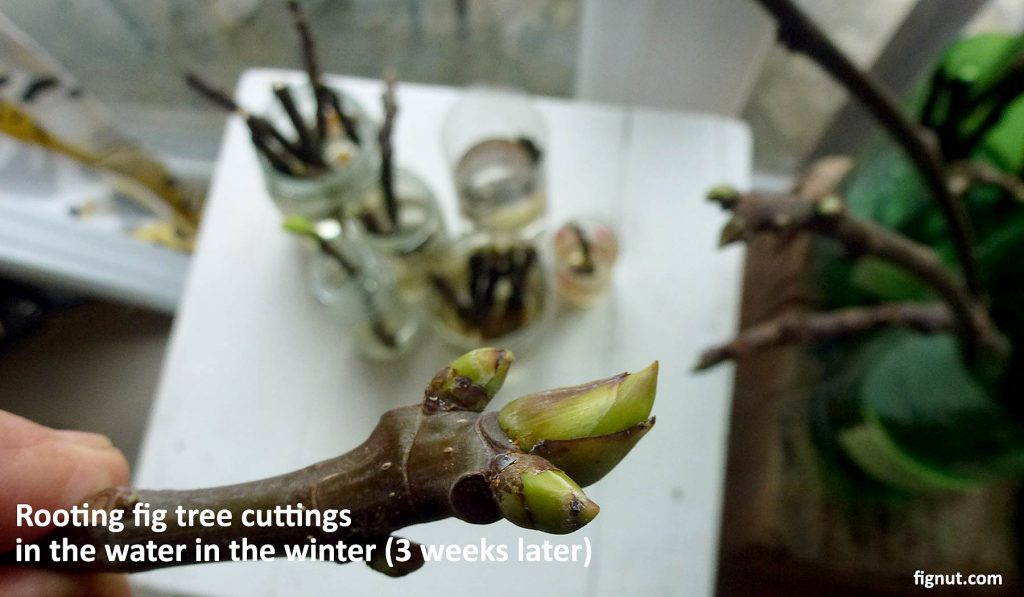
Update – 3 weeks later:
After three weeks of waiting, the first signs of root emerging are visible. Here are some photos:

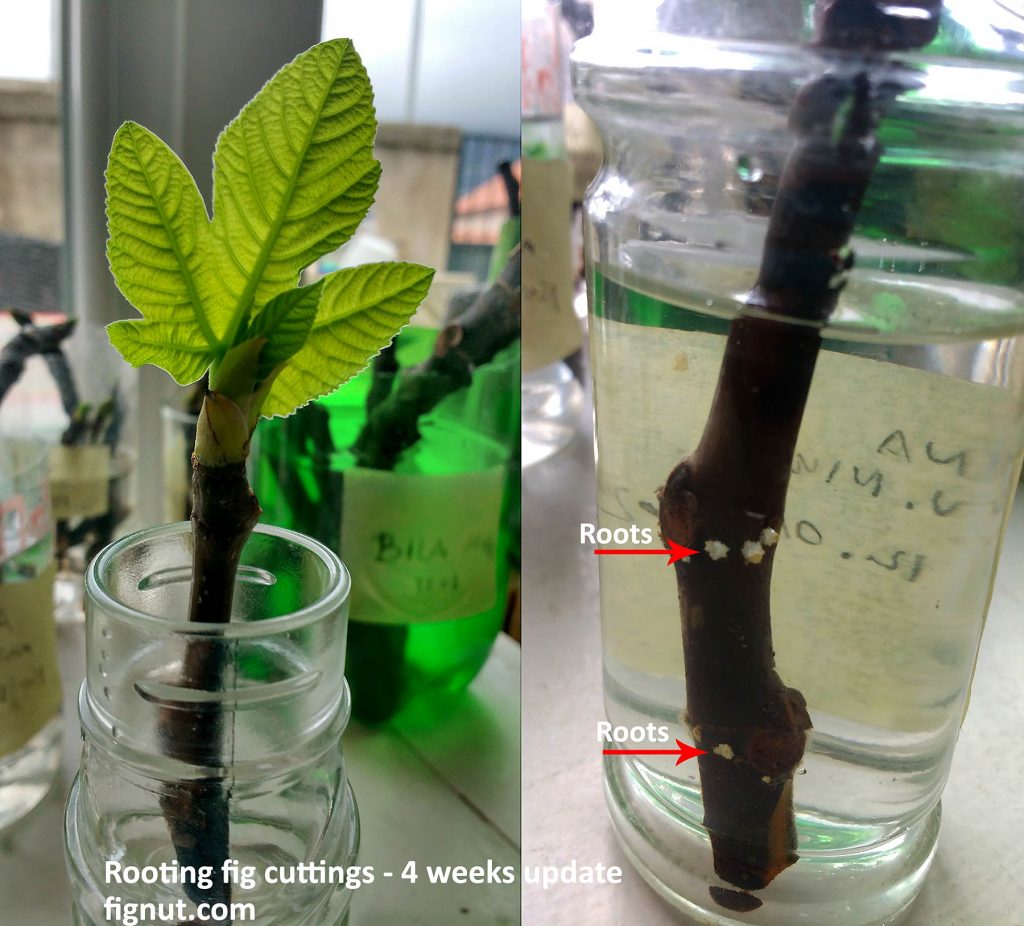
Update – 4 weeks later:
Video Update: One Month Later
Stay tuned for updates and for the next video episode on my YouTube channel.
Update – 6 weeks later:
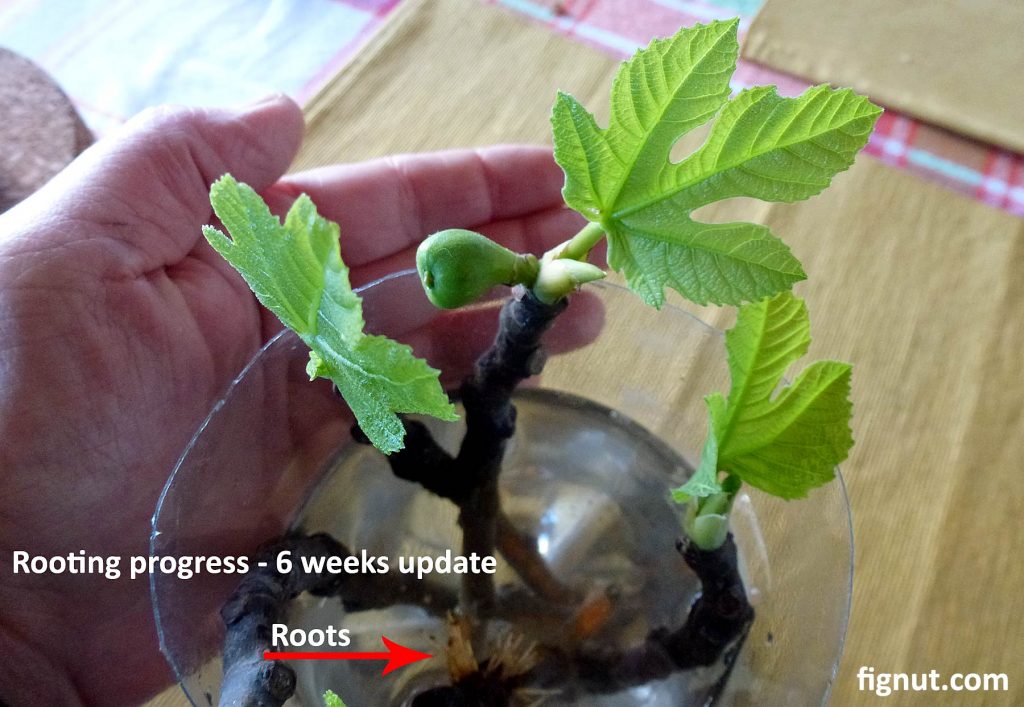
Update – 45 days later:
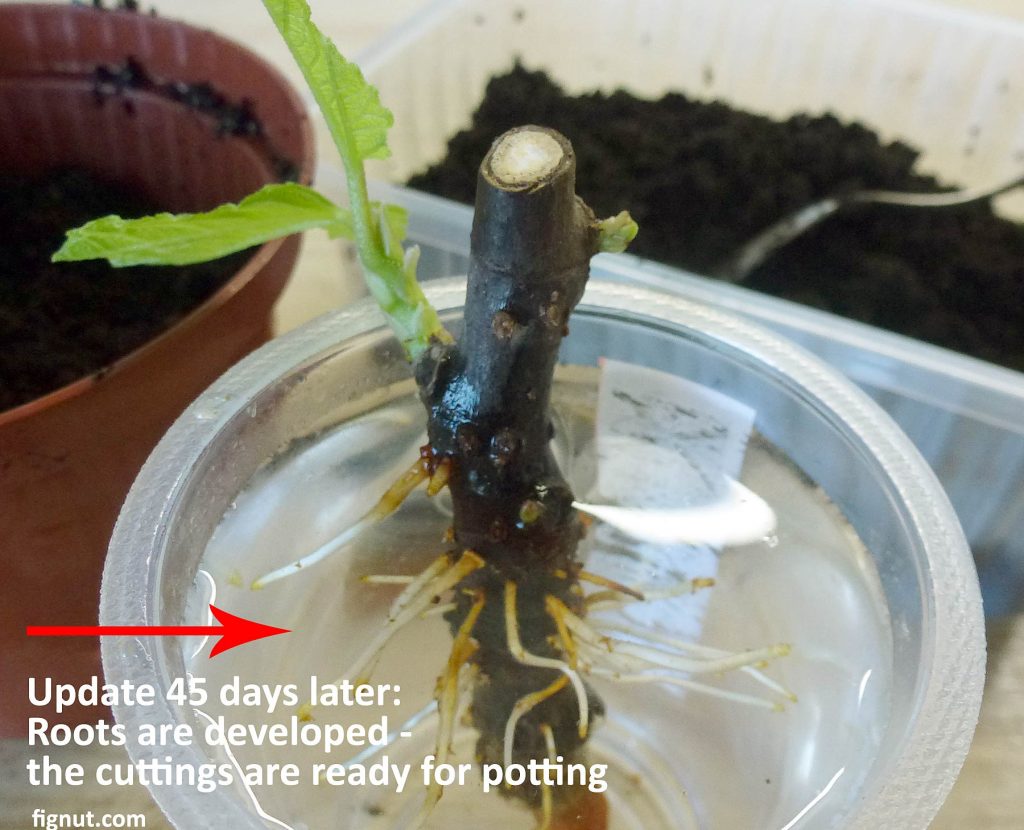
The first three cuttings are ready for potting 45 days after the beginning of the propagation process.
Video Update: 45 Days Later
Here is potting video:
As you can see, to propagate fig trees is a simple process, economical and cheap, you hardly need to spend any money on it. No need for any root hormones nor fertilizers, just use the cheapest compost available and plastic pots to continue with and to increase your tree production.

How to Make a Dried Figs Garland

Dormant Oil Sprays On Fruit Trees

Growing Fig Trees in Windy Areas

How to Use a Petrol Grass Trimmer