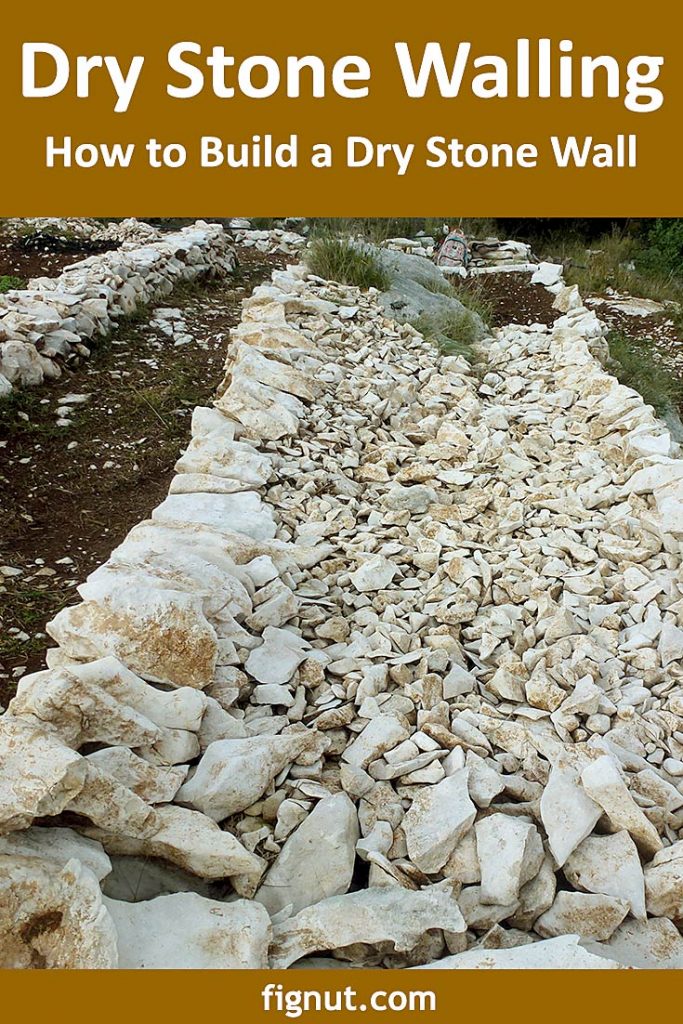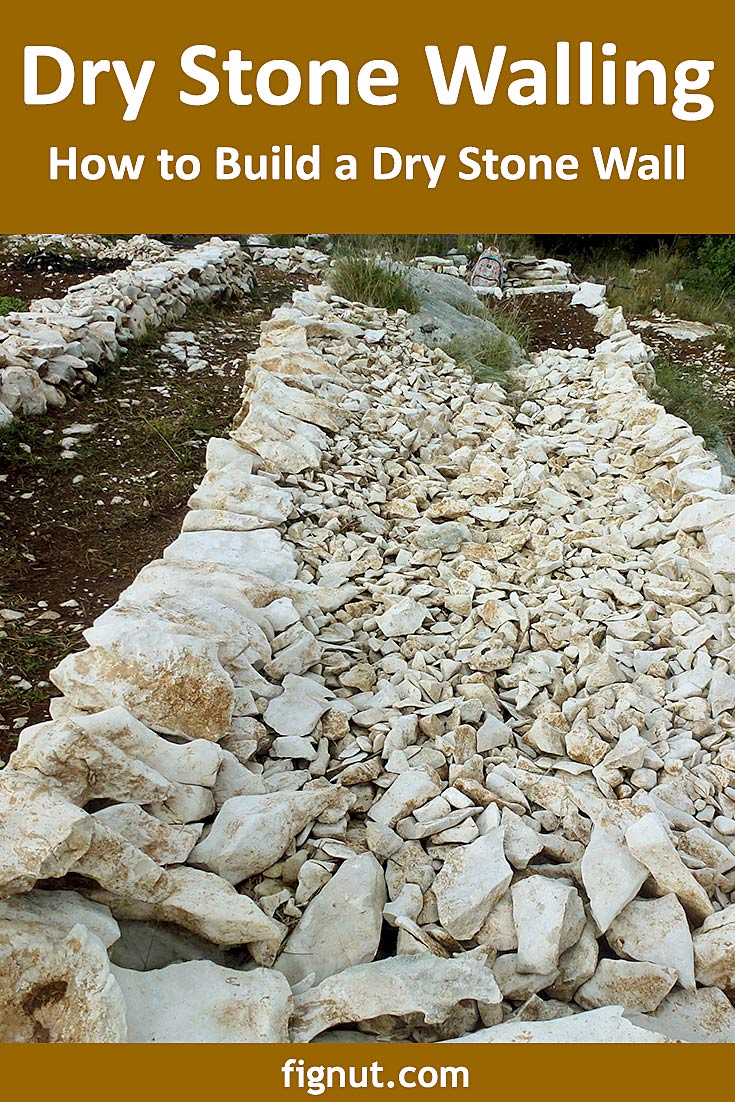
Dry stone walls, (also called dry-stack walls) is a method of constructing the wall without using any mortar to hold the stones together. I am building them on my land to clear the ground and landscaping, as preparation for planting as well as a windbreak and erosion prevention structure. This is a traditional building method that is used all around the Mediterranean as well as in some other parts of the world such as England and Scotland.
In this article, I will show you how to build this simple structure, dry stone walls for a garden, what are the most important things to look for while building, how to position and structure the right way, and how to make sure they remain stable, sturdy, and permanent. There is also a short video at the bottom of this article that shows me building the dry stone wall on my land.

Table of Contents
How to build a dry stone wall
Step 1: Clear and level the area where you intend to build the wall. If you are building your wall on the slope, level the area of the future foundations.
Step 2: Mark out the edges of the wall – I use a string and two pieces of wooden stakes to mark the edges of the wall. As I am building my walls parallel with cottage walls (see photos), I also measure with long string the distance from the cottage on both sides, making sure my future wall will be parallel with cottage walls. If you have any other buildings nearby, try to visualize how your future wall will look in comparison with other structures and adjust its location to them. Also, if you have some large rocks or similar on the ground, you can incorporate them in your future wall.

Step 3: Collect the stones and sort them out into various sizes – ideally sort them in piles of large, medium, and small size. Make sure your piles are not too far from the location of the future wall so you can access the building material easier. I usually place my piles about 1 meter away from the wall so I can easily access them.
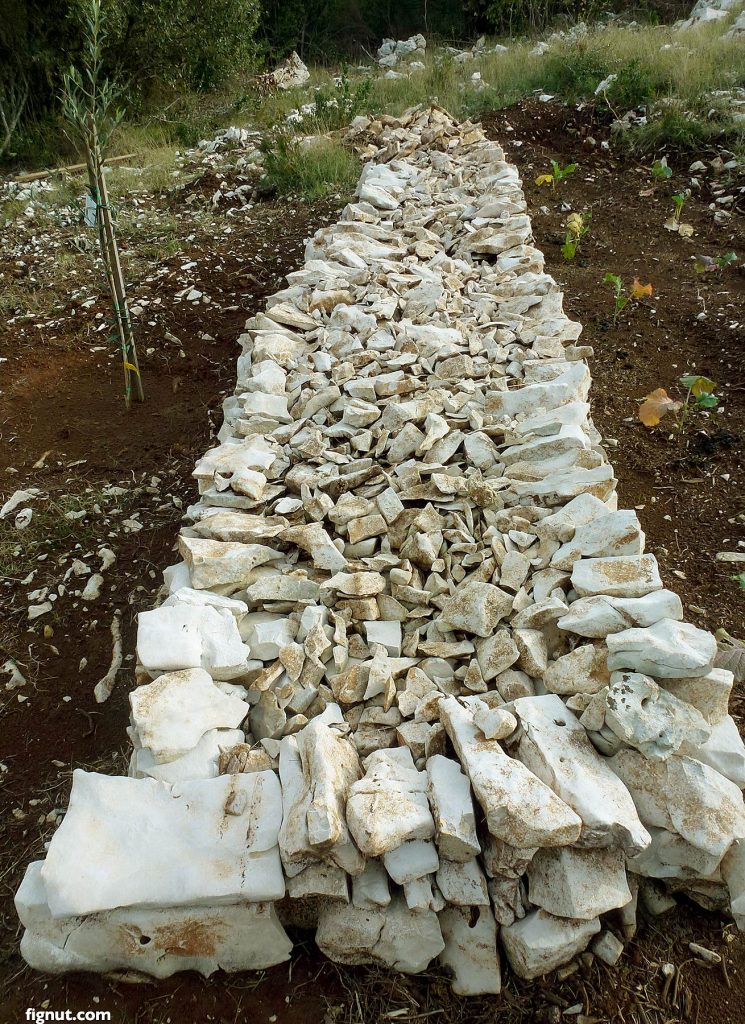
Step 4: Dig the foundation – depending on how wide and high you are planning your wall to be, dig at least 20 cm below the ground surface as a wall foundation. As you can see in the photos, I have plenty of stones around my land so I dig about 20 cm deep foundations for the wall that is usually 1 meter wide.
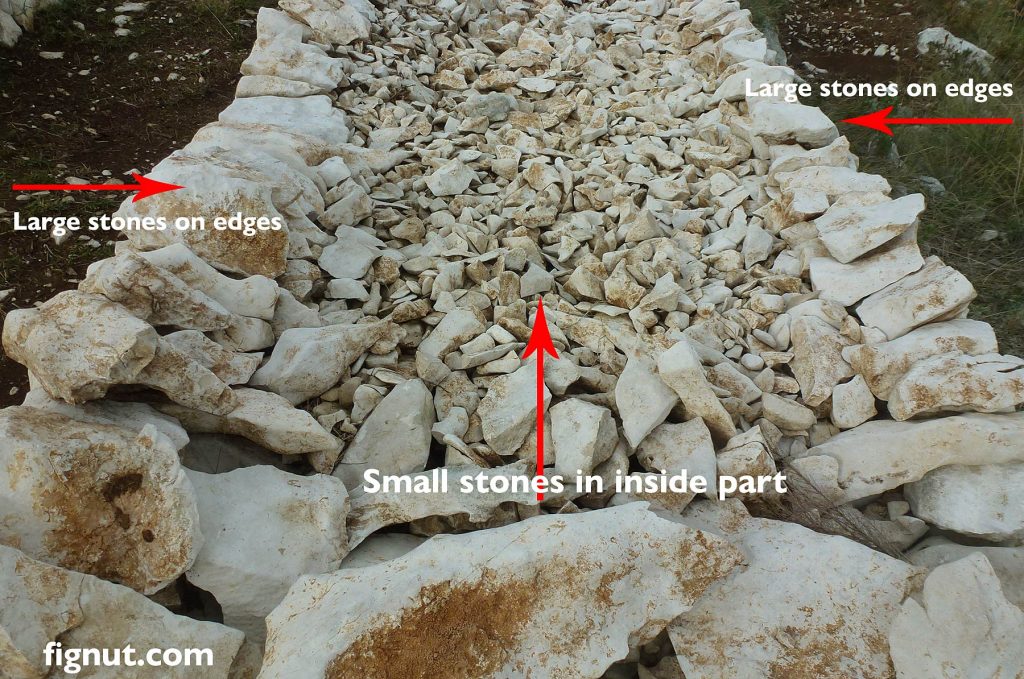
Step 5: Start with building – carefully pile large stones in flat layers around the edge of your wall area. It is important that you place large stones lengthwise into the wall (as in the below photo). Make sure each stone is large enough to bridge the gaps of two stones in the below layer.
This method makes the stone wall strong, sturdy, and durable, and professional builders call it ‘two over one & one over two‘ meaning above stone covers two stones below and two stones above covers one below (same as bricklaying). Make sure gaps of successive layers don’t line up as that kind of gap is unstable and the wall can break there and collapse easily.
As soon as you finish with about 50 cm length of large stones in flat layers, fill the area between two layers and all gaps with smaller stones. While doing this level large stones as much as you can with inserting suitable smaller stones below large stone edges. It is important to fill as many gaps as possible to stabilize the large stones at the edges of the wall. Make sure none of the large stones’ corners are wobbly. Every single large stone has to be completely stable before you proceed with adding another one.
If you need to slide the smaller stone under the large one to prevent the large one to be wobbly, try to slide it from inside the wall, not from the outside edge.
It is also important to make sure that you start with a wider row of stones at the bottom of the wall, and as progressing with building upwards, the width of the wall will get narrower. This is essential to keep the wall sturdy and durable for years to come. If needed, you can use a wooden frame to shape the wall the right way.
Basically, in this process, you build two parallel thin walls made of large stones and fill the area between them with smaller stones to stabilize the structure. Two thin walls on the edges together act as large containers for small stones. (Check how I am doing it on the below video)
To finish the wall off, once you reach the needed height, you can place some wider and flat stones at the top, but this is not essential. I usually leave as it is allowing me to add in the future some smaller or larger stones if I dig them nearby.
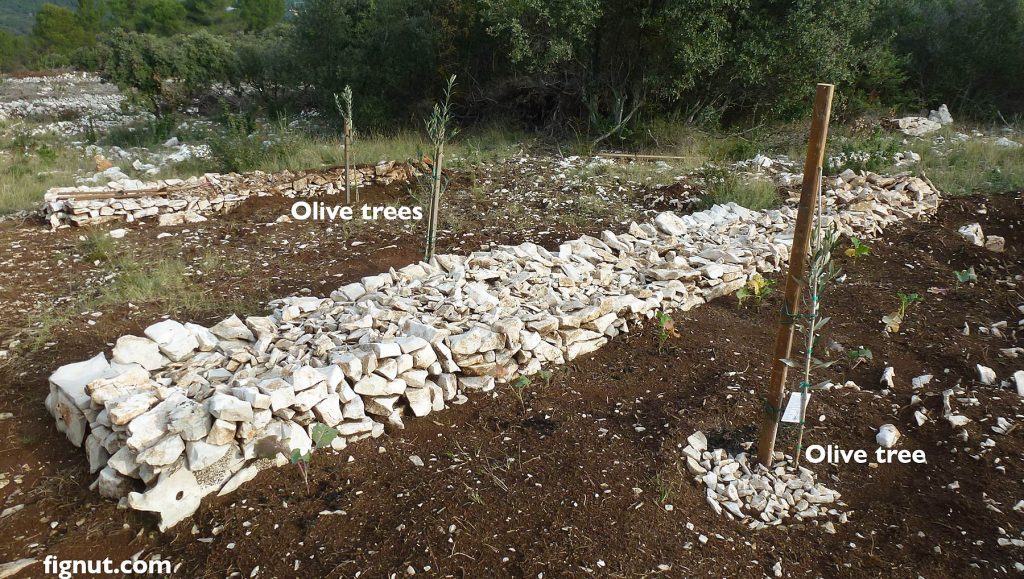
This process takes a long time especially if you build the wall at the same time as you are preparing the ground for planting as I do. My land was not cultivated before so this is the first time that I am making my land ready for planting some olive trees.
Video – Building a wall
In this video, I am building one of my walls while preparing land for planting some olive trees. As you can see, this is a laborious process that takes a lot of time, but the walls look very attractive in the landscape – have a look:

Dry stone walls facts
- Do dry stone walls need foundations? Yes, dry stone walls need foundations which you can make with large and flat stones. No mortar foundation is needed.
- What stone is used for dry stone walls? You can use any available stones for your dry stone wall. Ideally, it should be local material but if you don’t have access to it, use any stones. I have a lot of stones around my land so I am using them.
- How high can you build a dry stone wall? In theory, you can build the dry stone wall as high as you wish, as long as the foundation of the wall is wide enough. But in reality, these walls are usually between 1 and 1.5 meters high.
- Can you take down a dry-stone wall? In theory yes, you can take it down easily as there is no mortar involved, but if a dry-stone wall is an old one it is very likely that structure is protected by law so you must not take it down. Check with your local authority.
Why build dry stone walls?
Dry stone walls are handmade, visually attractive structures, that are not permanent as no mortar is used, but can last forever. They are good for the environment and ecosystem as numerous small animals and insects live inside them. You can always change your mind and completely dismantle them or remove them somewhere else.
Yes, building these walls is a slow and laborious process, they are fairly wide and take a lot of space, but if you have enough supply of stone in your area or on your land, try to build them as they are flexible, attractive, traditionally made structures that reflect local character and materials and you get the wall for zero cost which you can always later on recycle, remove or reinstall.