Lavender propagation from cuttings is a cheap and easy way of obtaining new plants. Instead of buying the new plant, just take cuttings from the old one (at the same time when pruning your plants) and transplant it in your garden. In this article, I am explaining how to root your lavender cuttings in a straightforward way without using any rooting powder or similar. Anyone can do it for almost no cost. All you need is just some compost, several cuttings, water, a couple of plastic pots, or containers. Instead of buying the new plant, just propagate your own.

Table of Contents
How to Root Lavender from Cuttings (in Soil)
Starting a new lavender plant from cutting is a fairly simple and straightforward process, without rooting powder. Here is how to do it in the step – by – step guide, my simple method:
Method
Step 1 – Choose the best time: Ideally, choose the time after flowering to propagate the plant. It is usually in the mid or late summer. However, if you can’t do it at that time or season, you can also do it at any other time, even in the winter, with a little bit less success, depending on your climate. I live in a fairly mild climate, so I can take cuttings any time a year.
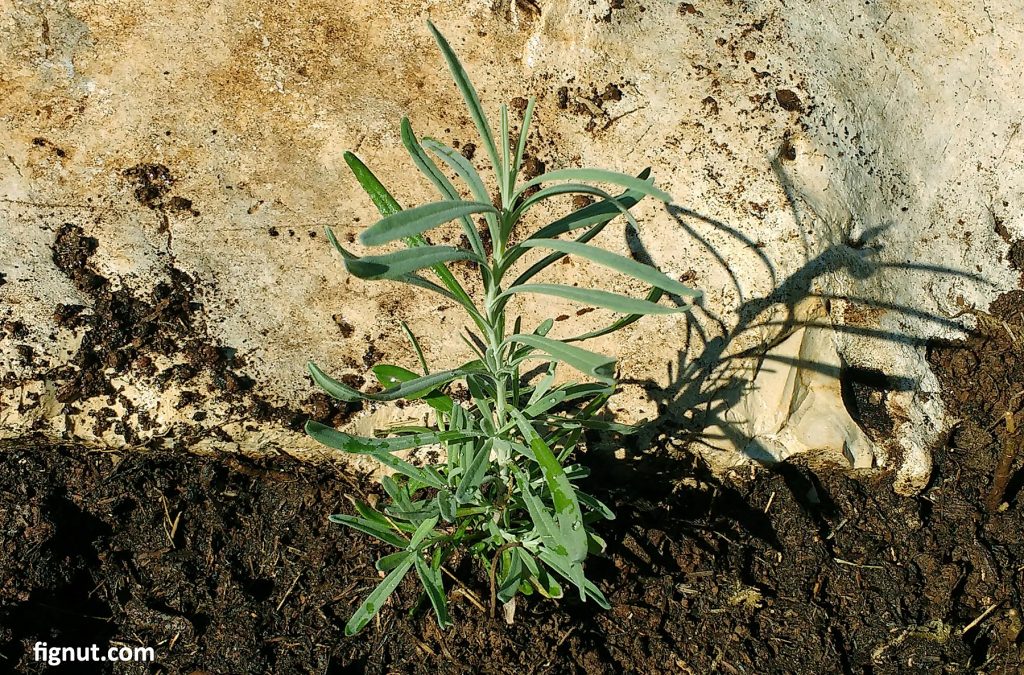
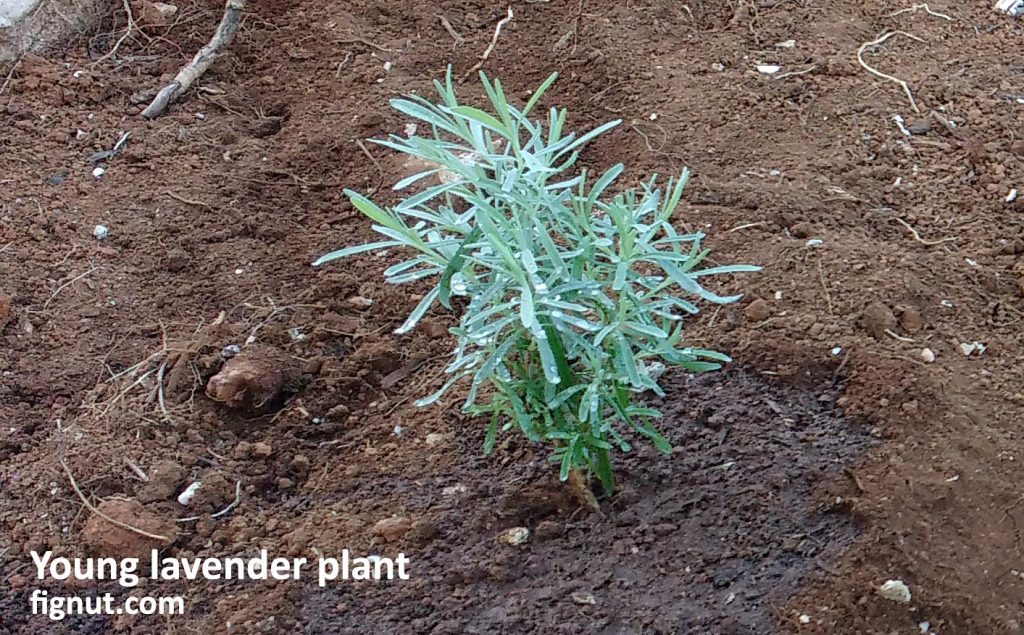
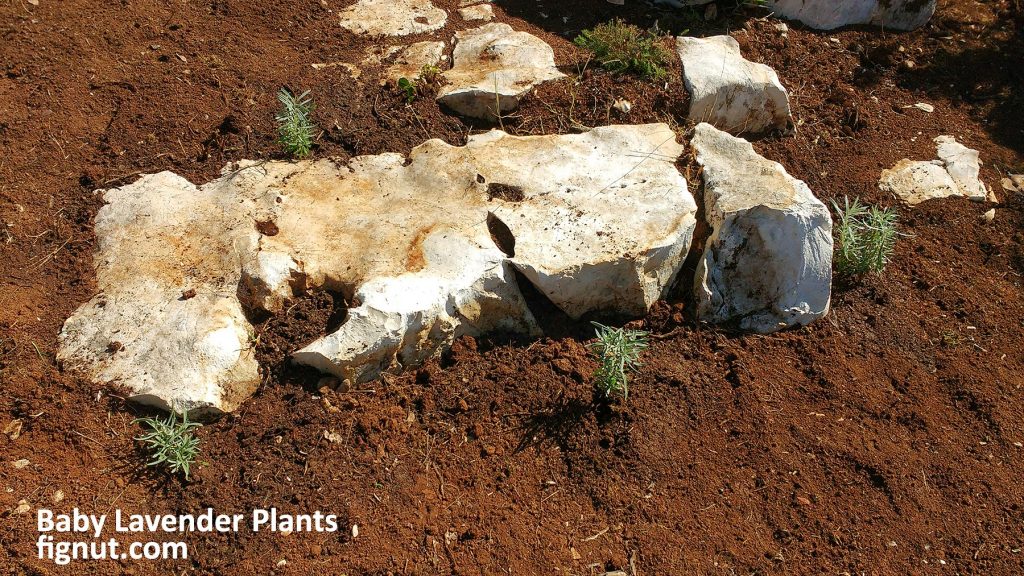
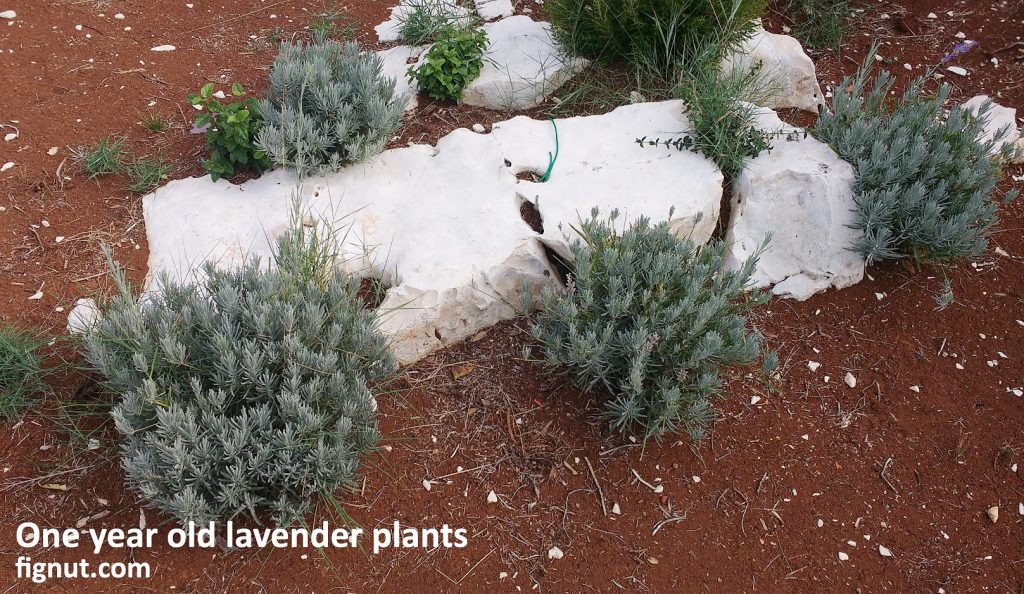
Although the best time to take cuttings is after flowering, I usually take cuttings in the autumn and plant them directly in the ground (as in the above photo). I choose autumn because it is the rainy season so the ground is rarely dry. By next spring new baby lavender plants are already rooted (see below photo). But, I can do it due to the mild climate.
When is the best time to take cuttings? The best time to take cuttings of lavender is after flowering which is usually in late summer. Although some species flower even later up to the mid-autumn so if you have one of those species, do it then.
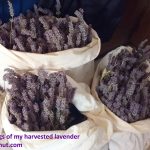
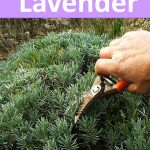
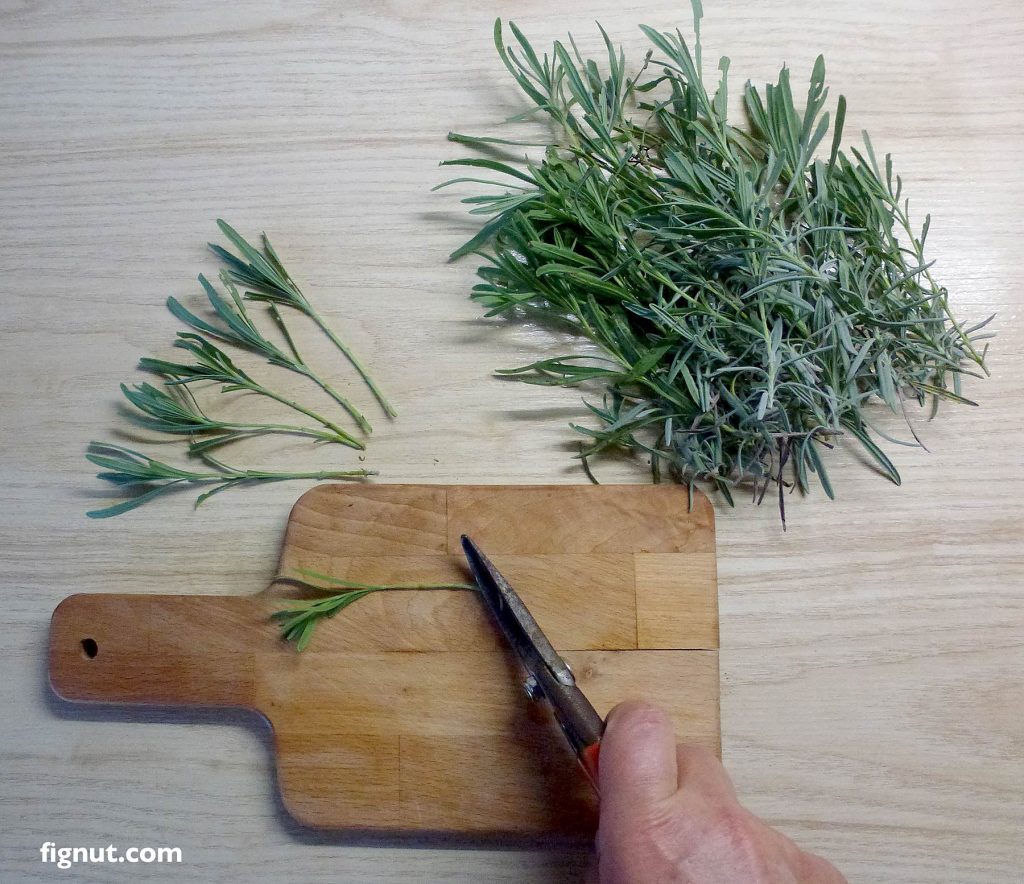
Step 2 – How to Take Lavender Cuttings: Use pruning scissors and take several cuttings that are about 10 to 12 cm long. If you can, choose softwood cuttings as they propagate easier and faster than hardwood bits. However, if you can’t get softwood ones, hardwood will also do, it will just take longer. I usually take as twice as many cuttings as I need and my success rate is about 90% so in my case about 10% of cuttings do not propagate.

Step 3 – Remove leaves and prepare compost and pots – Gently remove all leaves from the bottom third of the stem and plant them in the small, about 6 to 8 cm wide pot filled with the compost. For this purpose, any compost would do, you don’t need special compost or soil. Instead of plant rooting hormone, use some of your own salivae or similar.
Push the bare part of the cuttings inside the compost at the depth of about 2-3 cm. Water the pot thoroughly. Some people also remove (scrape) the skin from the lower bit of the stem to enable roots to grow easier. I used to do it but not anymore as even without scraping roots come out easy, especially from softwood cutting. If you are using hardwood bits, scraping is essential.
Step 4 – Choose the best location – Place the pot in a bright location but not to the direct sunlight and away from the direct wind. In the summers, I keep my pots in the corner of the patio which is shaded for most of the day. For winter cuttings, I keep them in the direct sun as lavender prefers a sunny location.
Step 5 – Keep it humid – Check daily if the soil in pots is dry. Water as often as you notice the soil becomes very dry. I usually spray all my cutting in the early morning. Make sure you don’t overdo it as in that case, cuttings may rot.
Step 6 – How long do lavender cuttings take to root? – After about 4 weeks (sometimes even sooner), the roots should appear and the plant is ready to be moved either in the ground or in the larger pot. Keep your plant in a bright location if possible but away from direct sunlight. If you took hardwood cuttings, you may need to wait 6 weeks for roots to appear.
Step 7 – How to check if the stems have roots? – The easiest way to check if the stems have roots is by giving them a short but gentle pull. If roots are there, the stem will not come out. Alternatively, I just leave them for 4 weeks and monitor their leaves, if they are fresh, the plant is alive with an already formed rooting system.
Propagating Lavender Cuttings in Water (in Winter)
Right now I am rooting some cuttings that I picked this winter. I chosen water propagation as a method of rooting as I feel, at this stage, with cold nights and still some night frost, the best option is to keep cuttings indoors and transfer them in soil once roots are well developed which will be in 4-6 weeks.
Here is a guide on how to do it
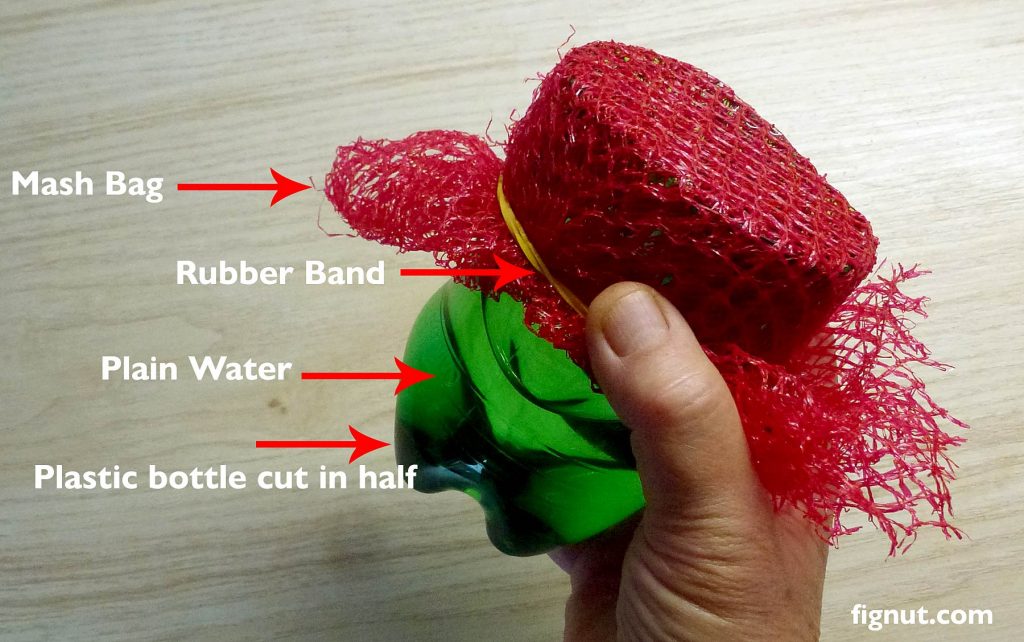
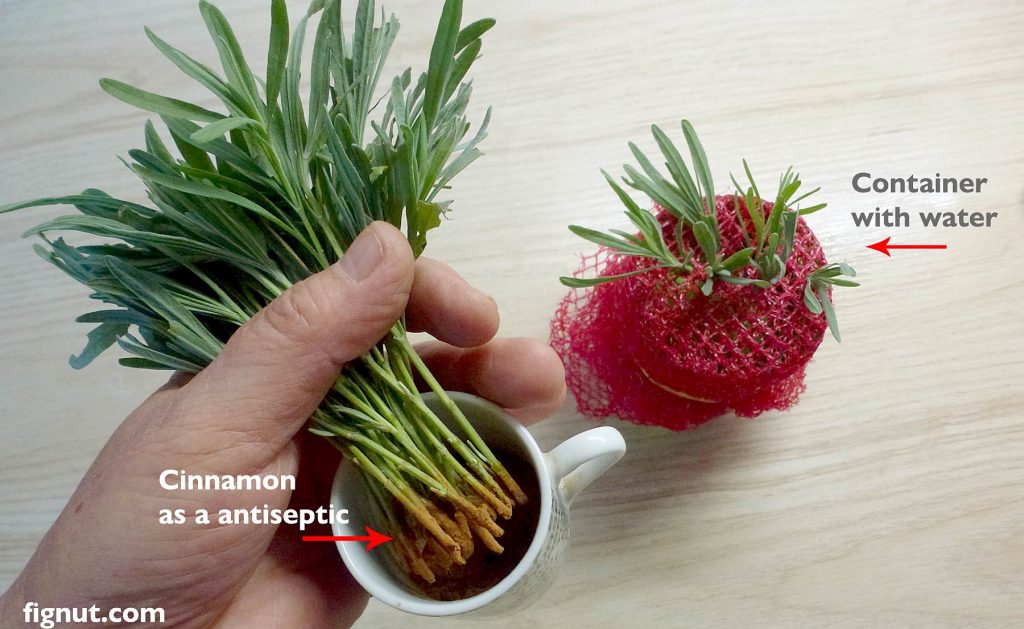
Step 1: Prepare Container – Upon taking and selecting your cuttings (as explained in the above steps) the next step for water propagation in winter is to cut the empty plastic bottle in half, or use any suitable, similar container, fill it up 3/4 with water and cover it with a potato (or any similar) mesh bag, fastened by rubber gum.
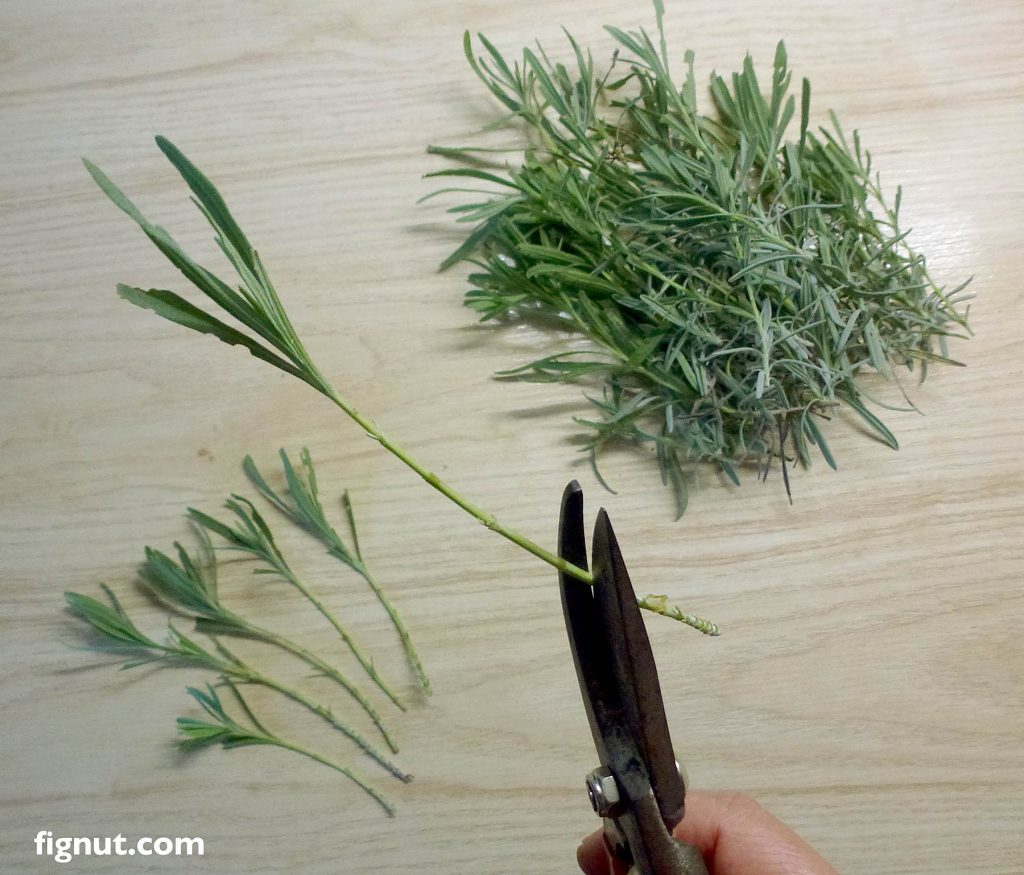
Step 2: Cut off the bottom bit of the stems and apply pressure to flatten the stems. I usually use my pruning shears as in the below photo:
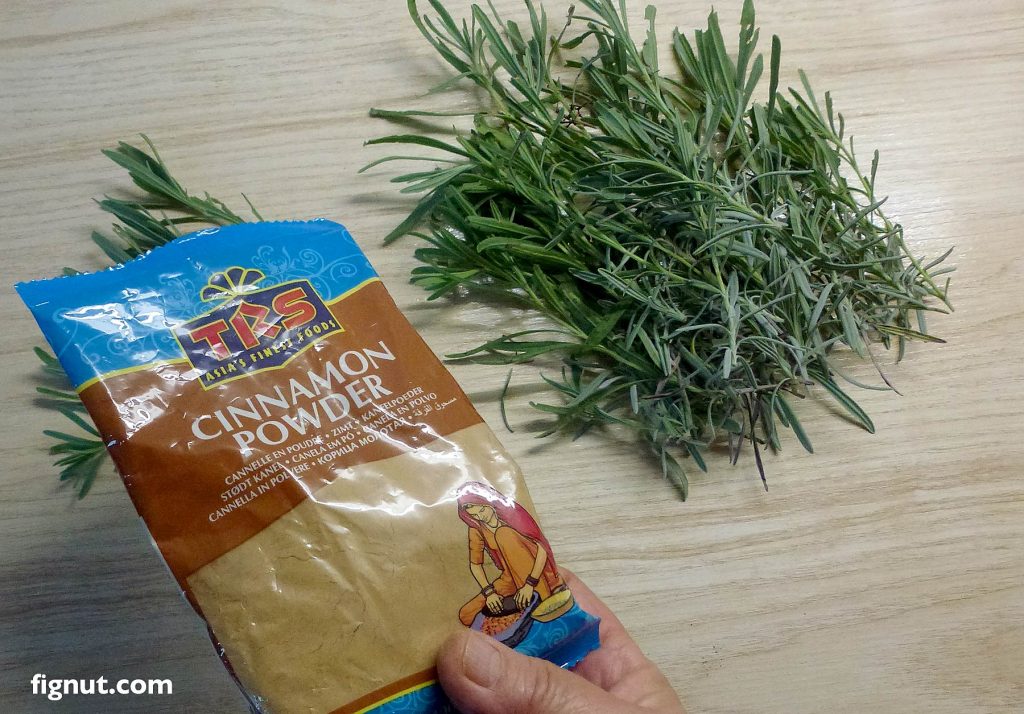
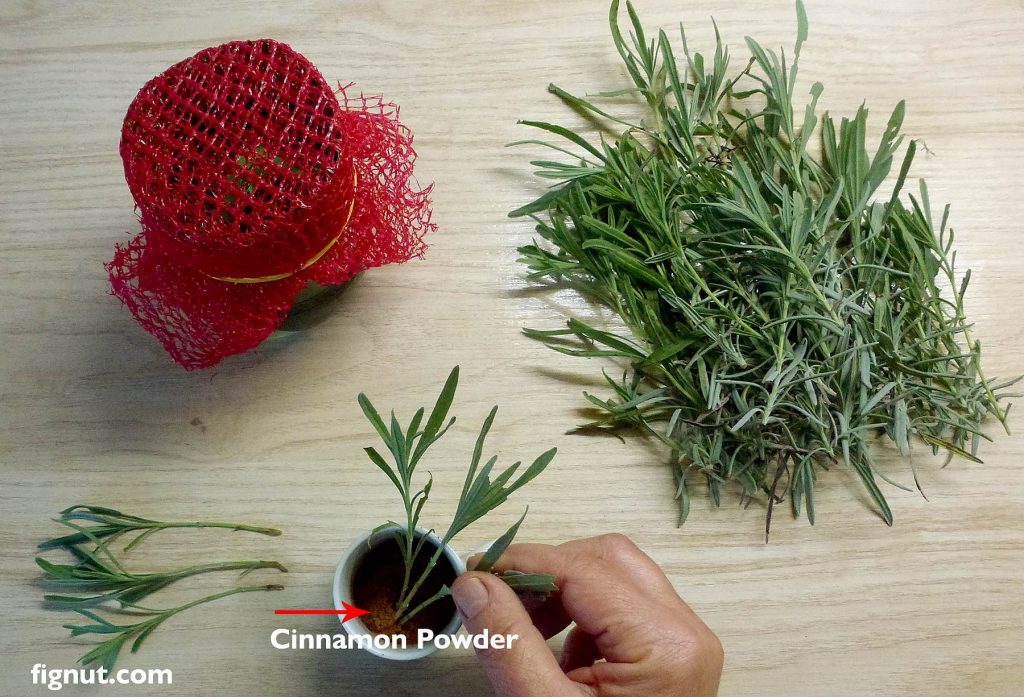
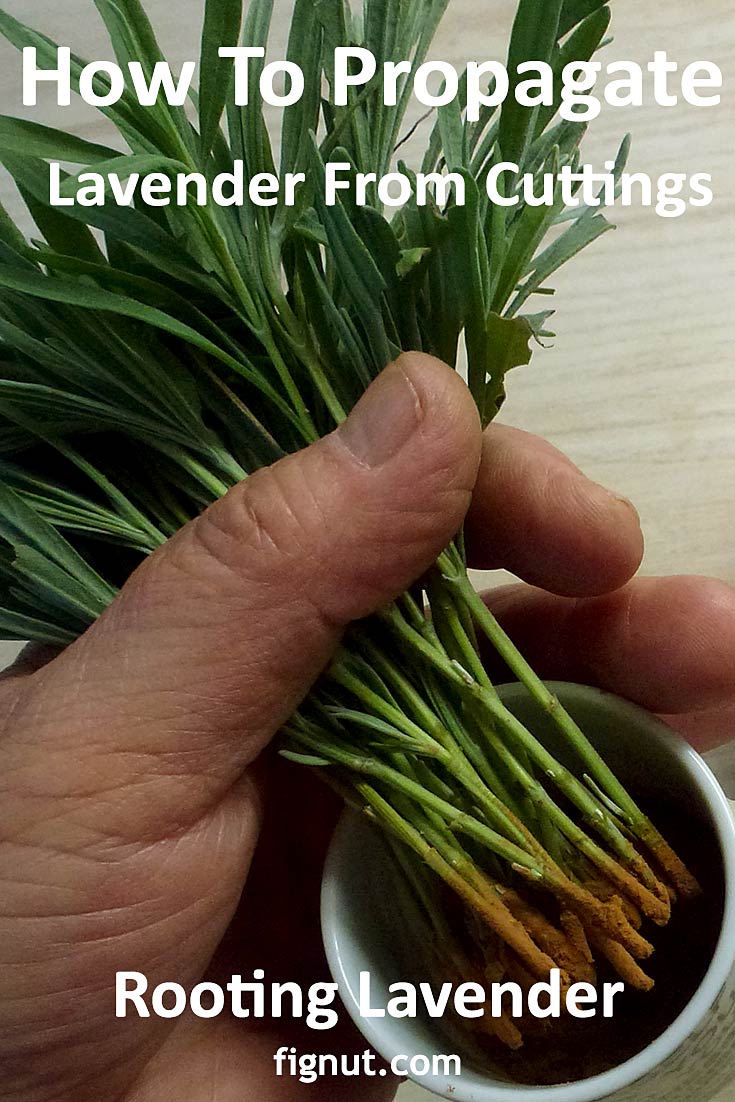
Step 3: Dip the bottom end of cutting (the flattened part) in cinnamon powder (or any other homemade rooting hormone) primarily as antiseptic as prevention of infection or disease
Step 4: Gently push each cutting through the mesh that is fastened at the top of the plastic container, 3/4 filled with clean, preferably rainwater. (You can easily collect rainwater from any flat surface in your garden and save it for this or similar purpose.)
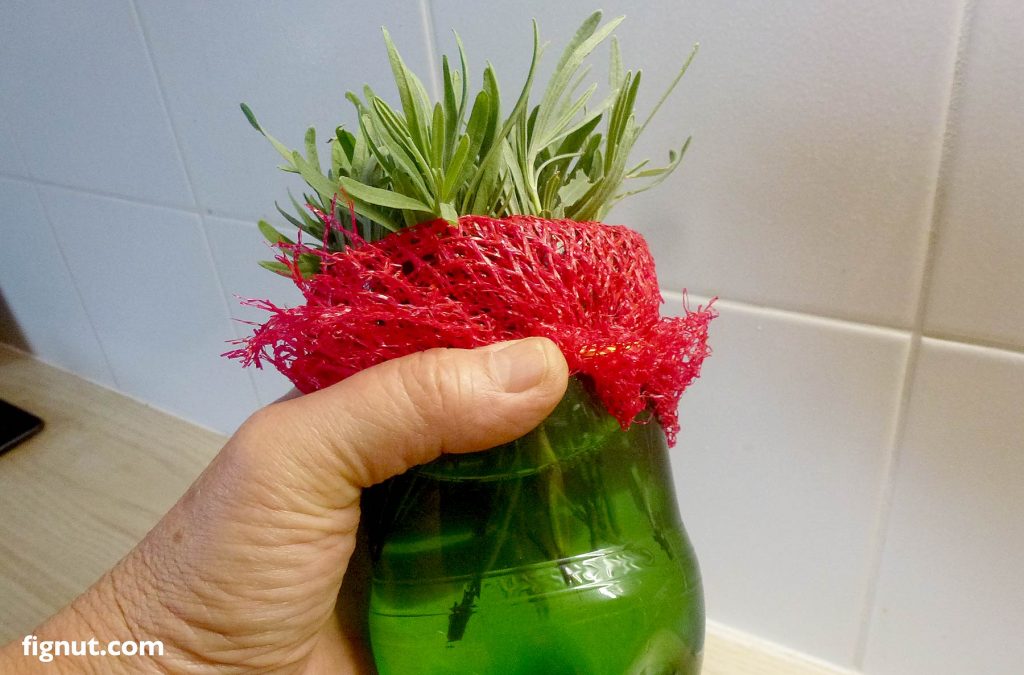
Step 5: Place the container indoors, in a warm but not hot room, on the windowsill or near the window that faces east or north to avoid any direct sunlight to reach your cuttings.
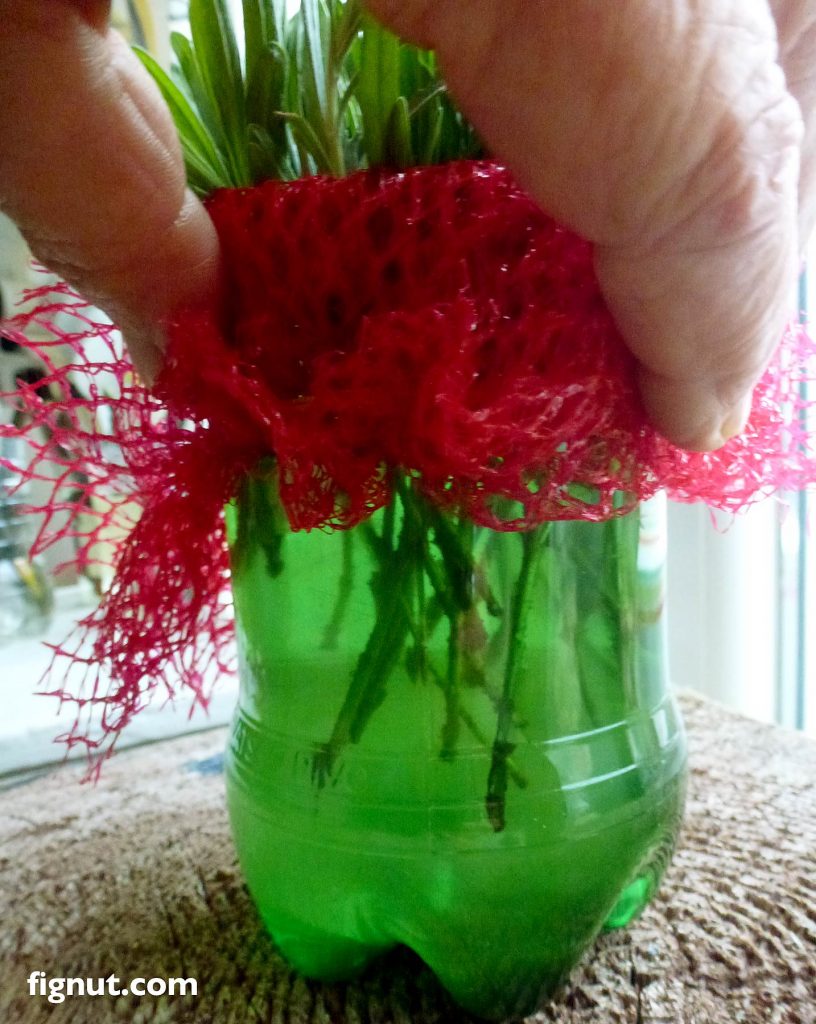
Step 6: It is a waiting time now: Change the water twice a week. Make sure cuttings have enough space to develop their roots. If needed, use two or three containers to spread your cuttings if you feel they are too squeezed. In 4 to 6 weeks you should see some roots developing.
Video – Rooting lavender cuttings in water in winter
Here is a first video of the process – I will add an update video in few weeks when root appears – have a look:

Update: 60 days later and most of the cuttings are now well rooted, so I decided to pot them. For potting I am using a regular potting mix and 10 cm wide pots. Here is a video:
In cooler climates, winter cuttings are less successful as lavender is in the dormant stage. In this case, the homemade rooting hormone is a good option to increase the success rate. Take your cuttings inside the house into the warmer and fairly humid environment, place them near the window to enable them to get at least some sunlight. If you have a greenhouse you can try there, depending on the outside temperatures especially in the nighttime.
My lavender plants that are grown from cuttings
Here are some photos of my baby lavender plants that I grew from cuttings and photos of the same plants, a year later, when they already grew to a respectable size. More photos of my lavender plants are here
Why do my lavender cuttings keep dying
The reasons why your lavender cuttings keep dying:
- dry soil – not enough water – use a spray bottle and spray/water/mist it a few times a day
- soaked soil – roots rot – stop watering
- exposure to strong and direct sunlight – move your cuttings to a shady location
- cutting is too big – make sure your cuttings are between 10 and 12 cm
- too many rooting hormones applied – my advice is to avoid it completely, just use more cuttings than you need, some will root anyway in most of the conditions.
- cuttings need clean water – make sure you change the water regularly if you do water propagation
As you can see, to propagate new lavender plant(s) from a cutting(s) is a simple process, economical and cheap, you hardly need to spend any money on it. No need for any root hormones nor fertilizers, just use the cheapest compost available, plastic pots, and bottles to continue with and to increase your plant production. If you live in a mild climate, you can try to propagate your lavender directly in the ground.
See my other articles about rooting plants