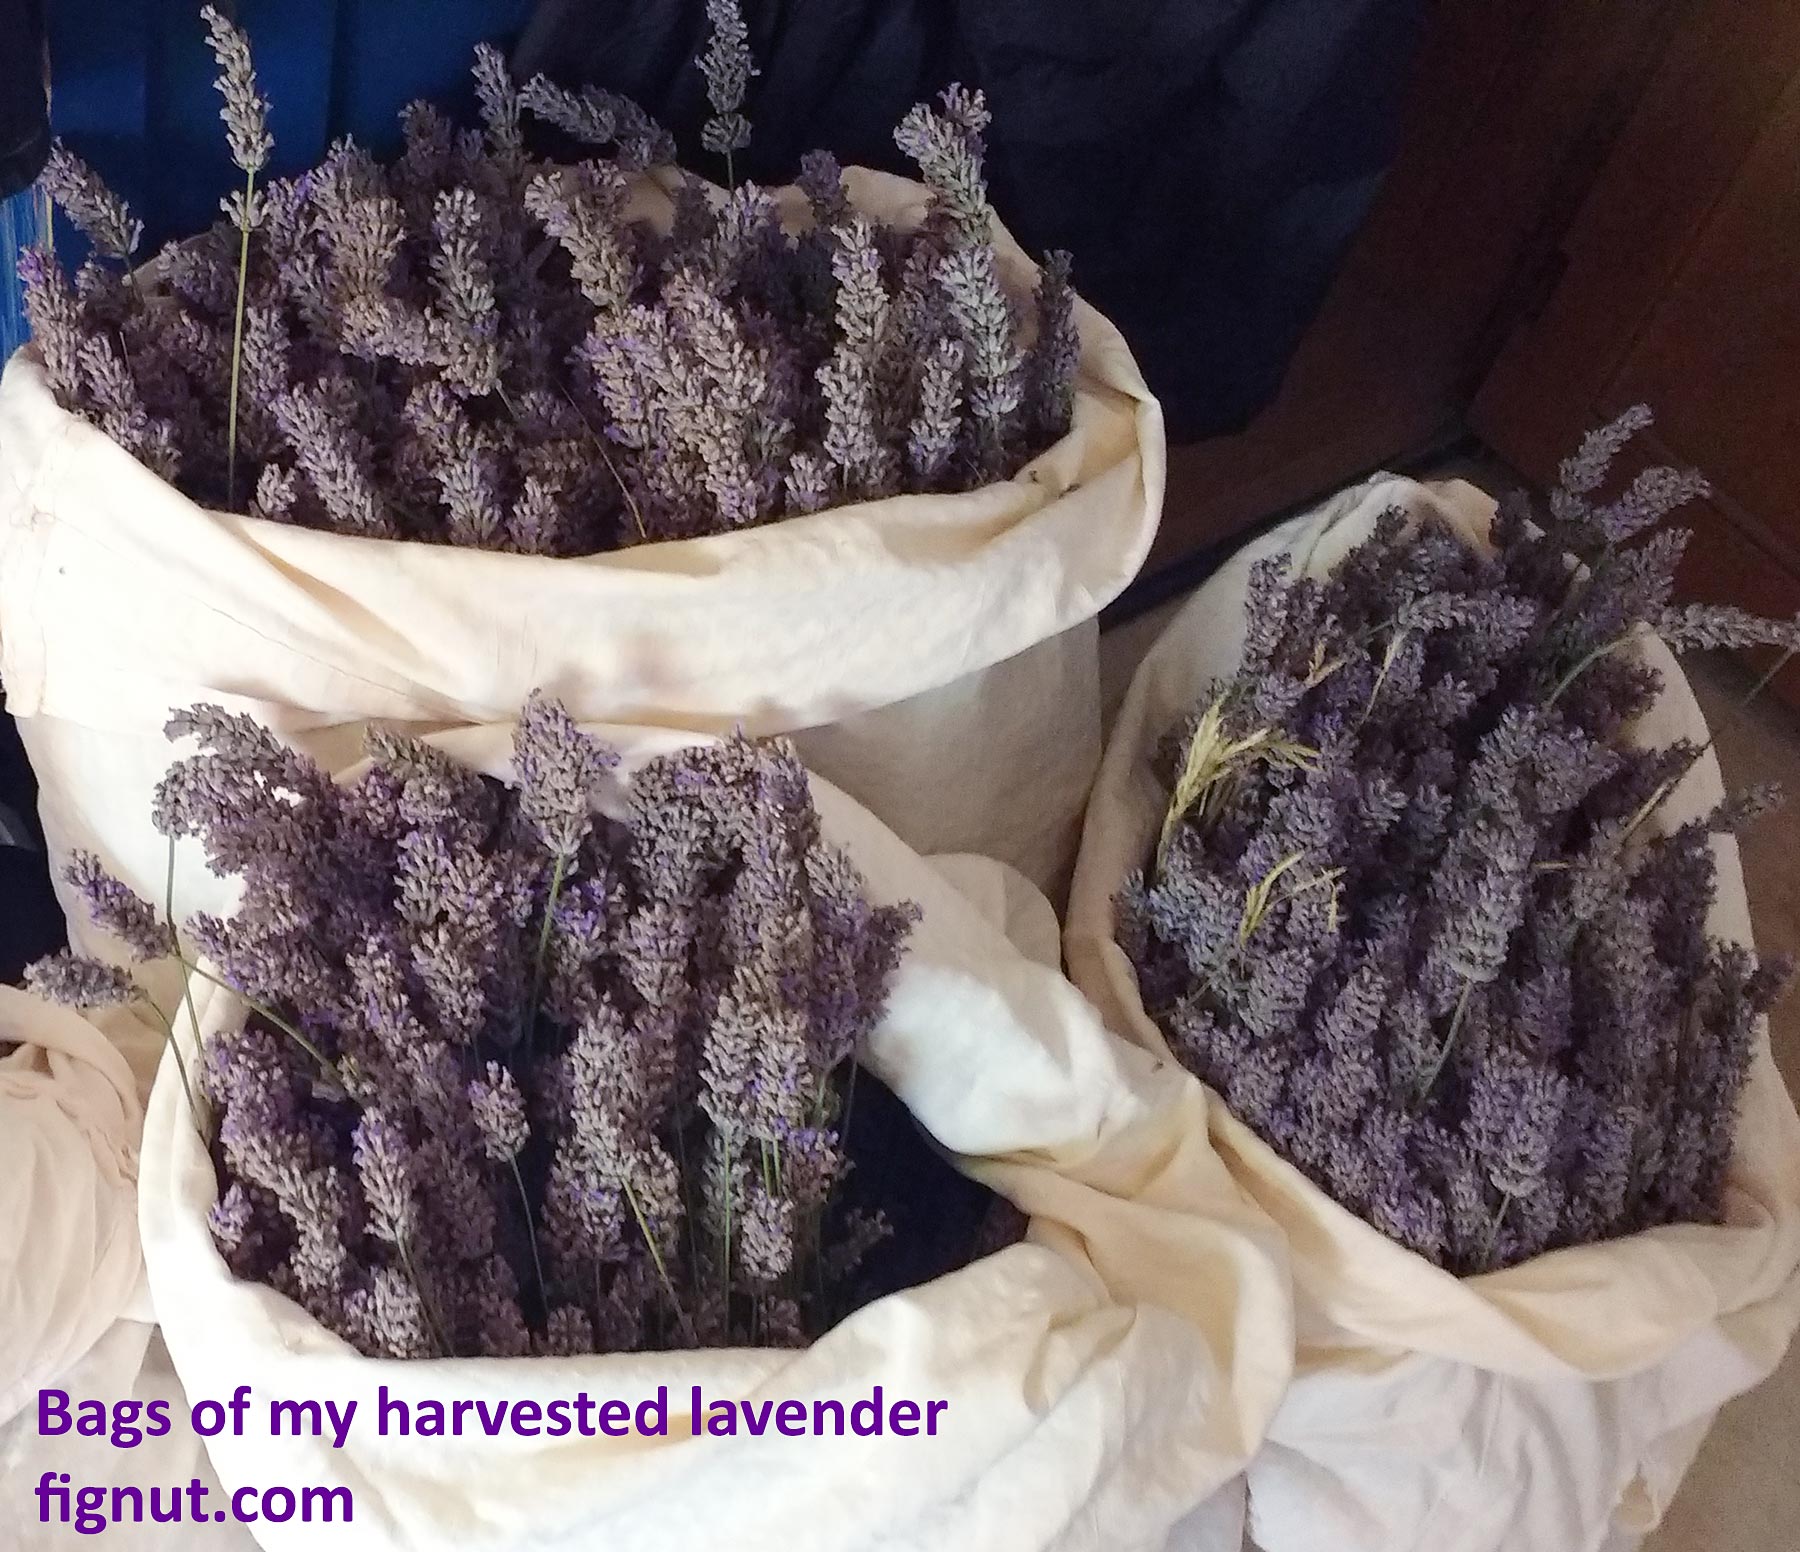
I have about 30 mature lavender plants in my garden which I grew from cuttings, and every year I harvest and dry its flowers, buds, and stems. At the same time, I also prune my lavender. As I live in a climate with long, dry summers and mild winters, my lavender is ready for harvest at the beginning of July. Here, in the Mediterranean, that is the beginning of summer.
Dried lavender can be used in many ways. I use it in the traditional way which is a habit here for hundreds of years. In this article, I will show you how to cut and dry lavender. In my other article, I explain how to store it to make sure its fragrant flowers are fresh for a long time.
Table of Contents
Best Way to Dry Lavender – Step by step process
Step 1: Choose the Right Time to Harvest Lavender
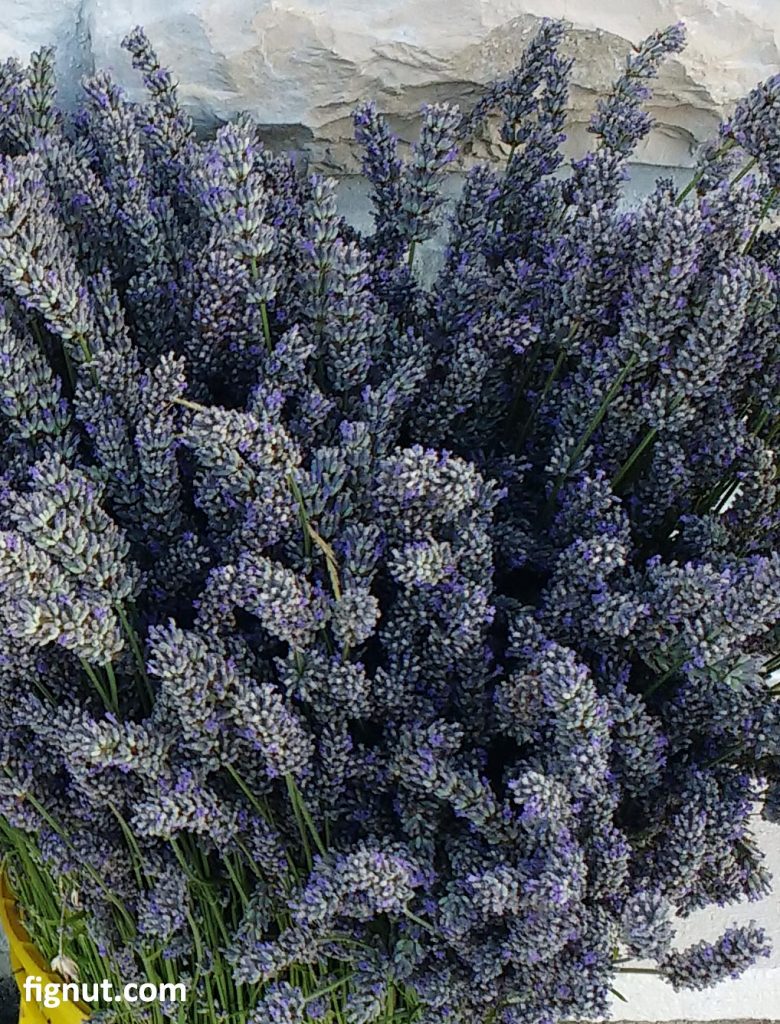
The most important thing about drying lavender is to harvest its flowers at the right time. Timing is crucial – with the right timing you will pick flowers when their scent is strongest. If you intend to prevent dry lavender flower buds from shedding, pick your lavender a few days before it is in full bloom.
If it is picked before the little florets open, dried lavender buds will stick to stems longer and better.
When planning your harvest, choose late mornings or midday when flowers and stems have a strong concentration of the essential oil and any possible morning or night dew has already evaporated.
Step 2: Harvest the Lavender
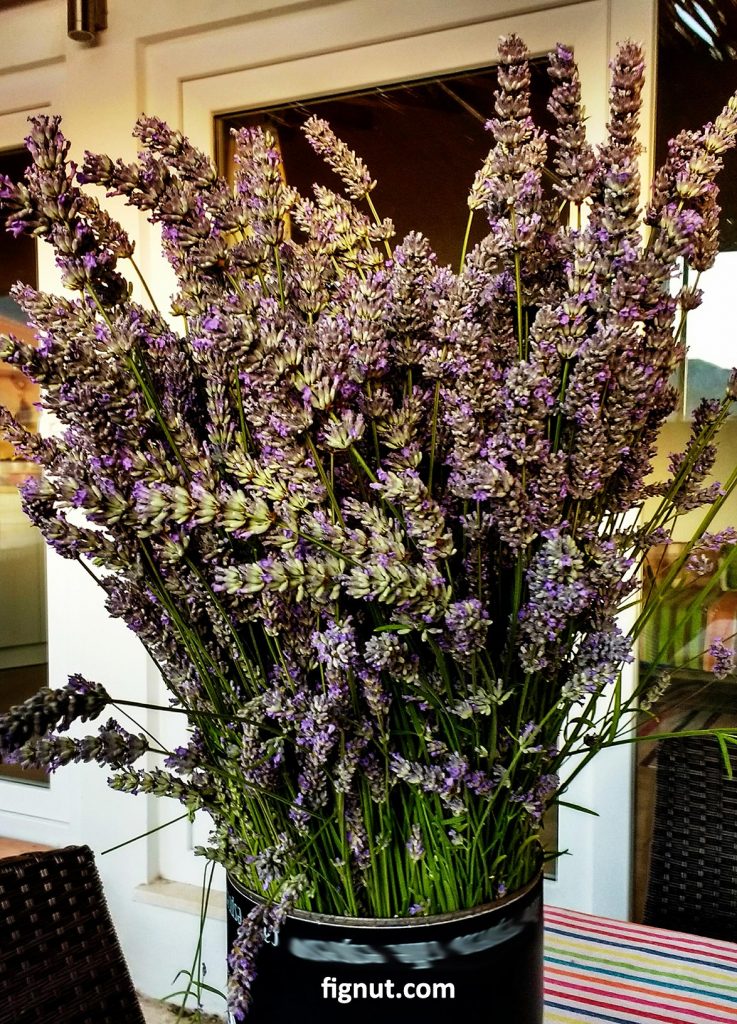
Harvest your lavender a few days before it is in fool bloom and buds are already in bright purple color. Cut the lavender stems at the base, just where the branch leaves become stems.
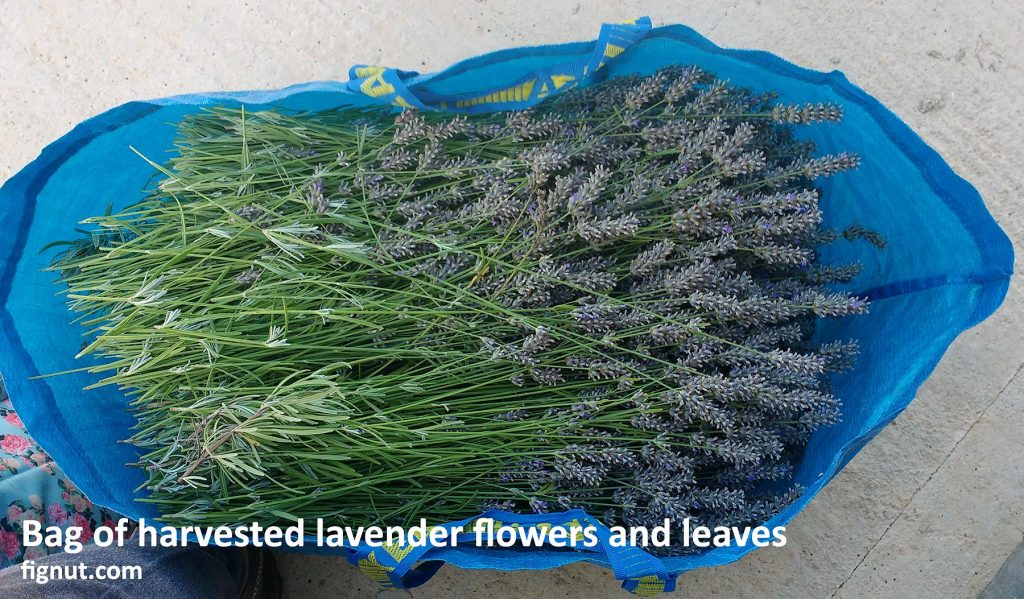
Lay your picked lavender horizontally in a large, roomy bag to prevent the squeeze and damage to the flowers (see photo below)
Step 3: My Drying Method – Air Drying
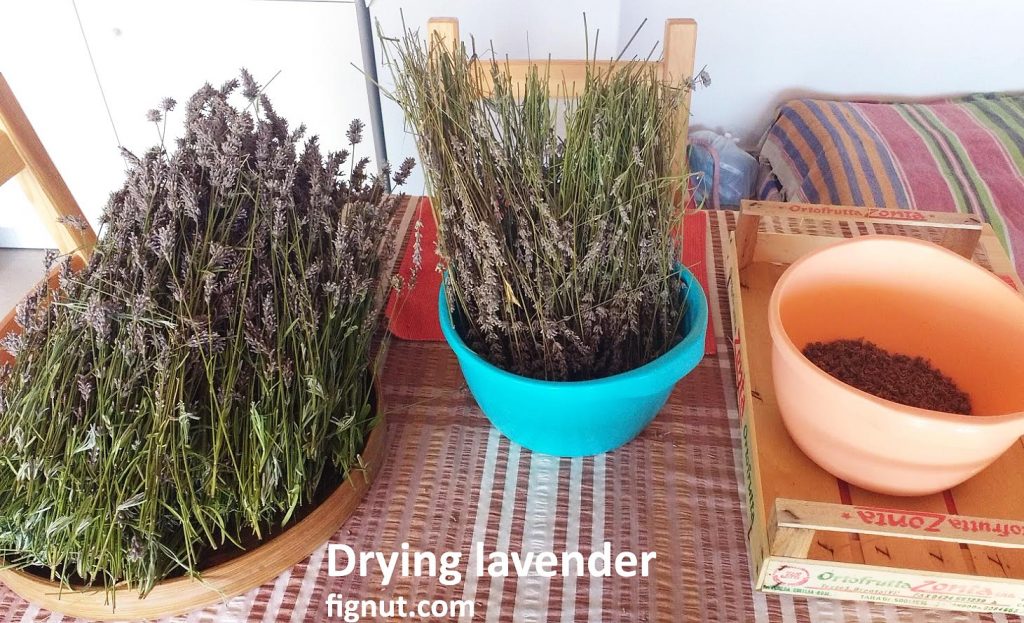
You can choose various methods to dry the flowers – on dry trays, hanging on the string, dried in microwave, oven, in a dehydrator. I will show you the methods that I find the easiest, cheapest, and least messy – here is what I do:
I keep a smaller amount of flowers to dry on the tray in my living room (above photo left tray). Just for decoration and lovely fragrance. It is summer, so the room is shaded, drafty, and dry. I keep this tray on the table for a few weeks. Once the lavender is dry, I store it away.
The rest of the lavender I put upside-down (flowers down) in the old pillowcases and hang them from the ceiling in the dark(er) corner of my shaded patio. I choose old cotton pillowcases as I already have plenty of them saved for similar purposes. If you don’t have any old pillowcase, get a similar sized cotton bag, and use it instead.
The standard size pillowcases are the right size to accommodate the whole length of stems with some room left to make a knot with two pillowcase corners.
Leave the bags (pillowcases) hanging for a few weeks in the shaded, drafty, and dry place (such as garage, loft, corridor, porch, or similar). Every 4-5 days, shake the bags for a few seconds to move flowers inside and prevent them to get stick together.
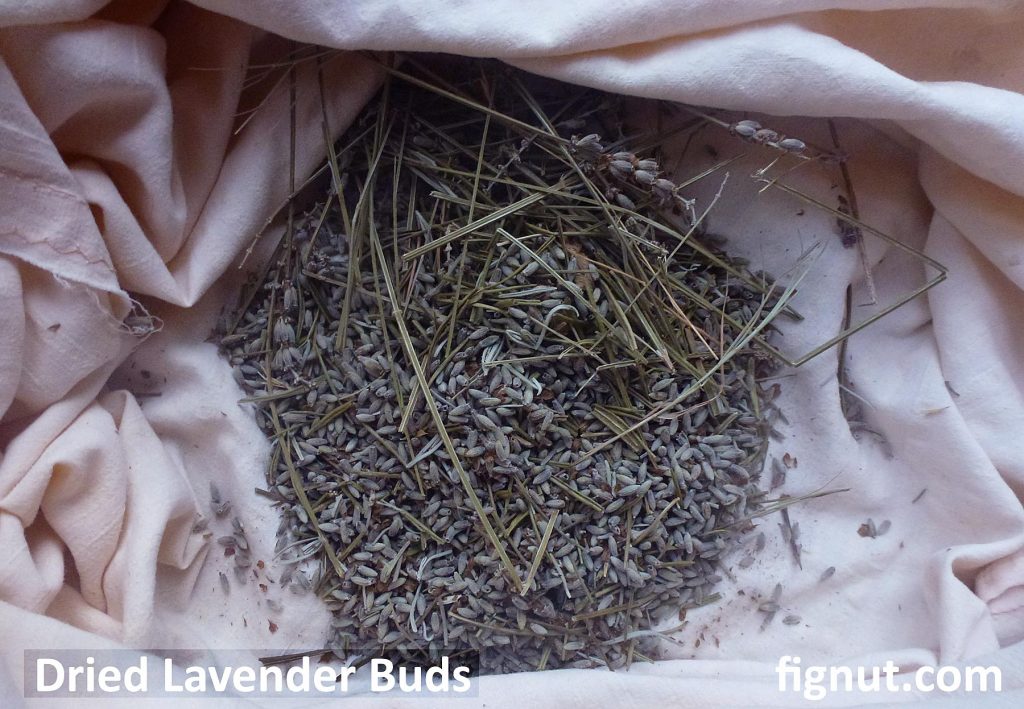
The reason I usually put flowers upside down is to allow buds, once dry, to fall freely at the bottom of the bag. As in this photo:
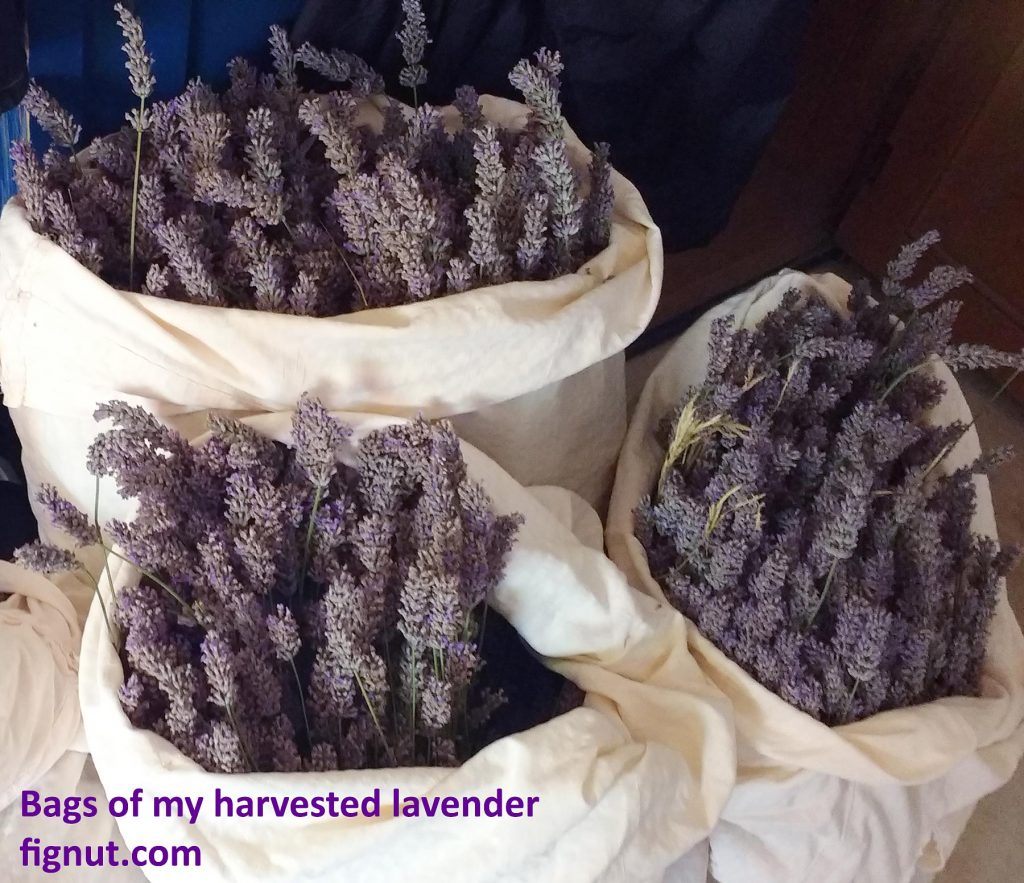
Sometimes, if I harvested a lot of lavender flowers, I put part of the flowers in the bags but right side up (as in the below photo). In this case, I keep flowers in a few bags in the corner of the room to enjoy the color and fragrance while drying.
Usually, because of limited space, I only do three bags this way. Every few days I also shake these bags to make sure stems are freely floating inside the bags. It is important to allow plenty of space for flowers in the bags to allow the air to circulate freely and prevent any mold from forming at the stems.
How Long Does It Take for Lavender to Dry?
This is an air-drying process, which takes much longer than drying in a dehydrator, oven, or microwave where you can dry your lavender in just a few hours. This method usually takes me 3-4 weeks.
Step 4: Take your Dry Lavender to Storage
After 3 -4 weeks, depending on your local weather and climate, open the bags, collect the dried buds from the bottom of the bag and place them in suitable storage. Any buds that are still hanging on the stems, just remove and strip to the container.
Using Drying Rack and Hanging Lavender
If instead, you decided to hang lavender in bunches to dry or use a drying rack, either bought or made it yourself, the process is similar and it also takes a similar length of time. I tried it also several times but find the above method much better.
The advantage of this method is that it is cheap. No need for any specific tools. It is a space-save option as well as this way you prevent any buds to drop on the floor (with this method they drop in bags).
Hanging bags (pillowcases) from the ceiling in the dark corner of the room is space-saving. This way I can dry larger quantities of lavender as opposed to the amount I can dry on the trays or rack.
Hanging lavender bunches somewhere around the room is very decorative but can be messy too as you end up picking buds from the floor all the time.
The disadvantage of this method is that you don’t see your beautiful lavender while drying. That is why I leave at least one tray of flowers to dry on the table in my living room!
- More articles: about drying sage, sun-drying apricots, and sun-drying figs
- If you would like to get some of my dried lavender, get in touch – I may be able to post you a small bag – let me know.
